It’s taken a lot of effort to get your seedlings ready for planting- now it’s time to plant them at your planting site…
Before You Start Planting
Collect or order your tree guards – we recommend biodegradable tree guards as they are kinder to the environment (no micro-plastics). Don’t forget to purchase wooden or bamboo tree stakes to support the tree guards (1-3 stakes/tree guard, depending on the size and type of guard).
Organise any tools that you will need to use while planting. This includes wheelbarrows, spades/shovels, watering cans and PPE such as gardening gloves and high-vis safety vests. Some equipment can be borrowed. You may wish to approach your local hardware store to seek an equipment donation.
Invite parents, grandparents and others to your planting day – many hands make light work! Allow enough time to advertise your event via your school newsletter and social media. Decide whether you will provide equipment for non-students, or whether volunteers should bring their own equipment. Decide whether volunteers will need a Working with Children check.
Dial before you dig! Make sure there are no underground cables or services located under your site.
Activity
Design a Habitat – students can design their own planting site.
On the Day
Water seedlings well the night before planting.
Place seedlings where you would like them to be planted before you start. Larger species need enough room to grow, while herbs and grasses are better mass planted. We recommend 8m spacings between trees, 4-5m spacings between shrubs and 1-2m spacing between grasses, sedges and forbs. Always think about how the plants will look in 30 years, especially trees!
Plant trees first, and then smaller shrubs and groundcover.
Organise the planting so that students and volunteers don’t need to walk over freshly planted areas.
Once you’ve finished planting, record what was planted and the date. This will help you to monitor the success and/or failure of different plant species, and to manage the site better.

Tips for successful planting
Plants aren’t evenly spaced in nature, they grow in groups or random patterns. Try to replicate this in your planting.
Think about how big each plant is going to get (including height and width). This will influence where you plant each plant, and how close together to prevent overcrowding and potential shading issues.
Groundcovers do best if planted close together, shrubs can be planted further apart.
Plant during mild weather and rainfall, ideally in late Autumn (eg. April/May) or late Winter (August). Try to plant shortly before rainfall is forecast.

Steps for Planting Your Seedlings
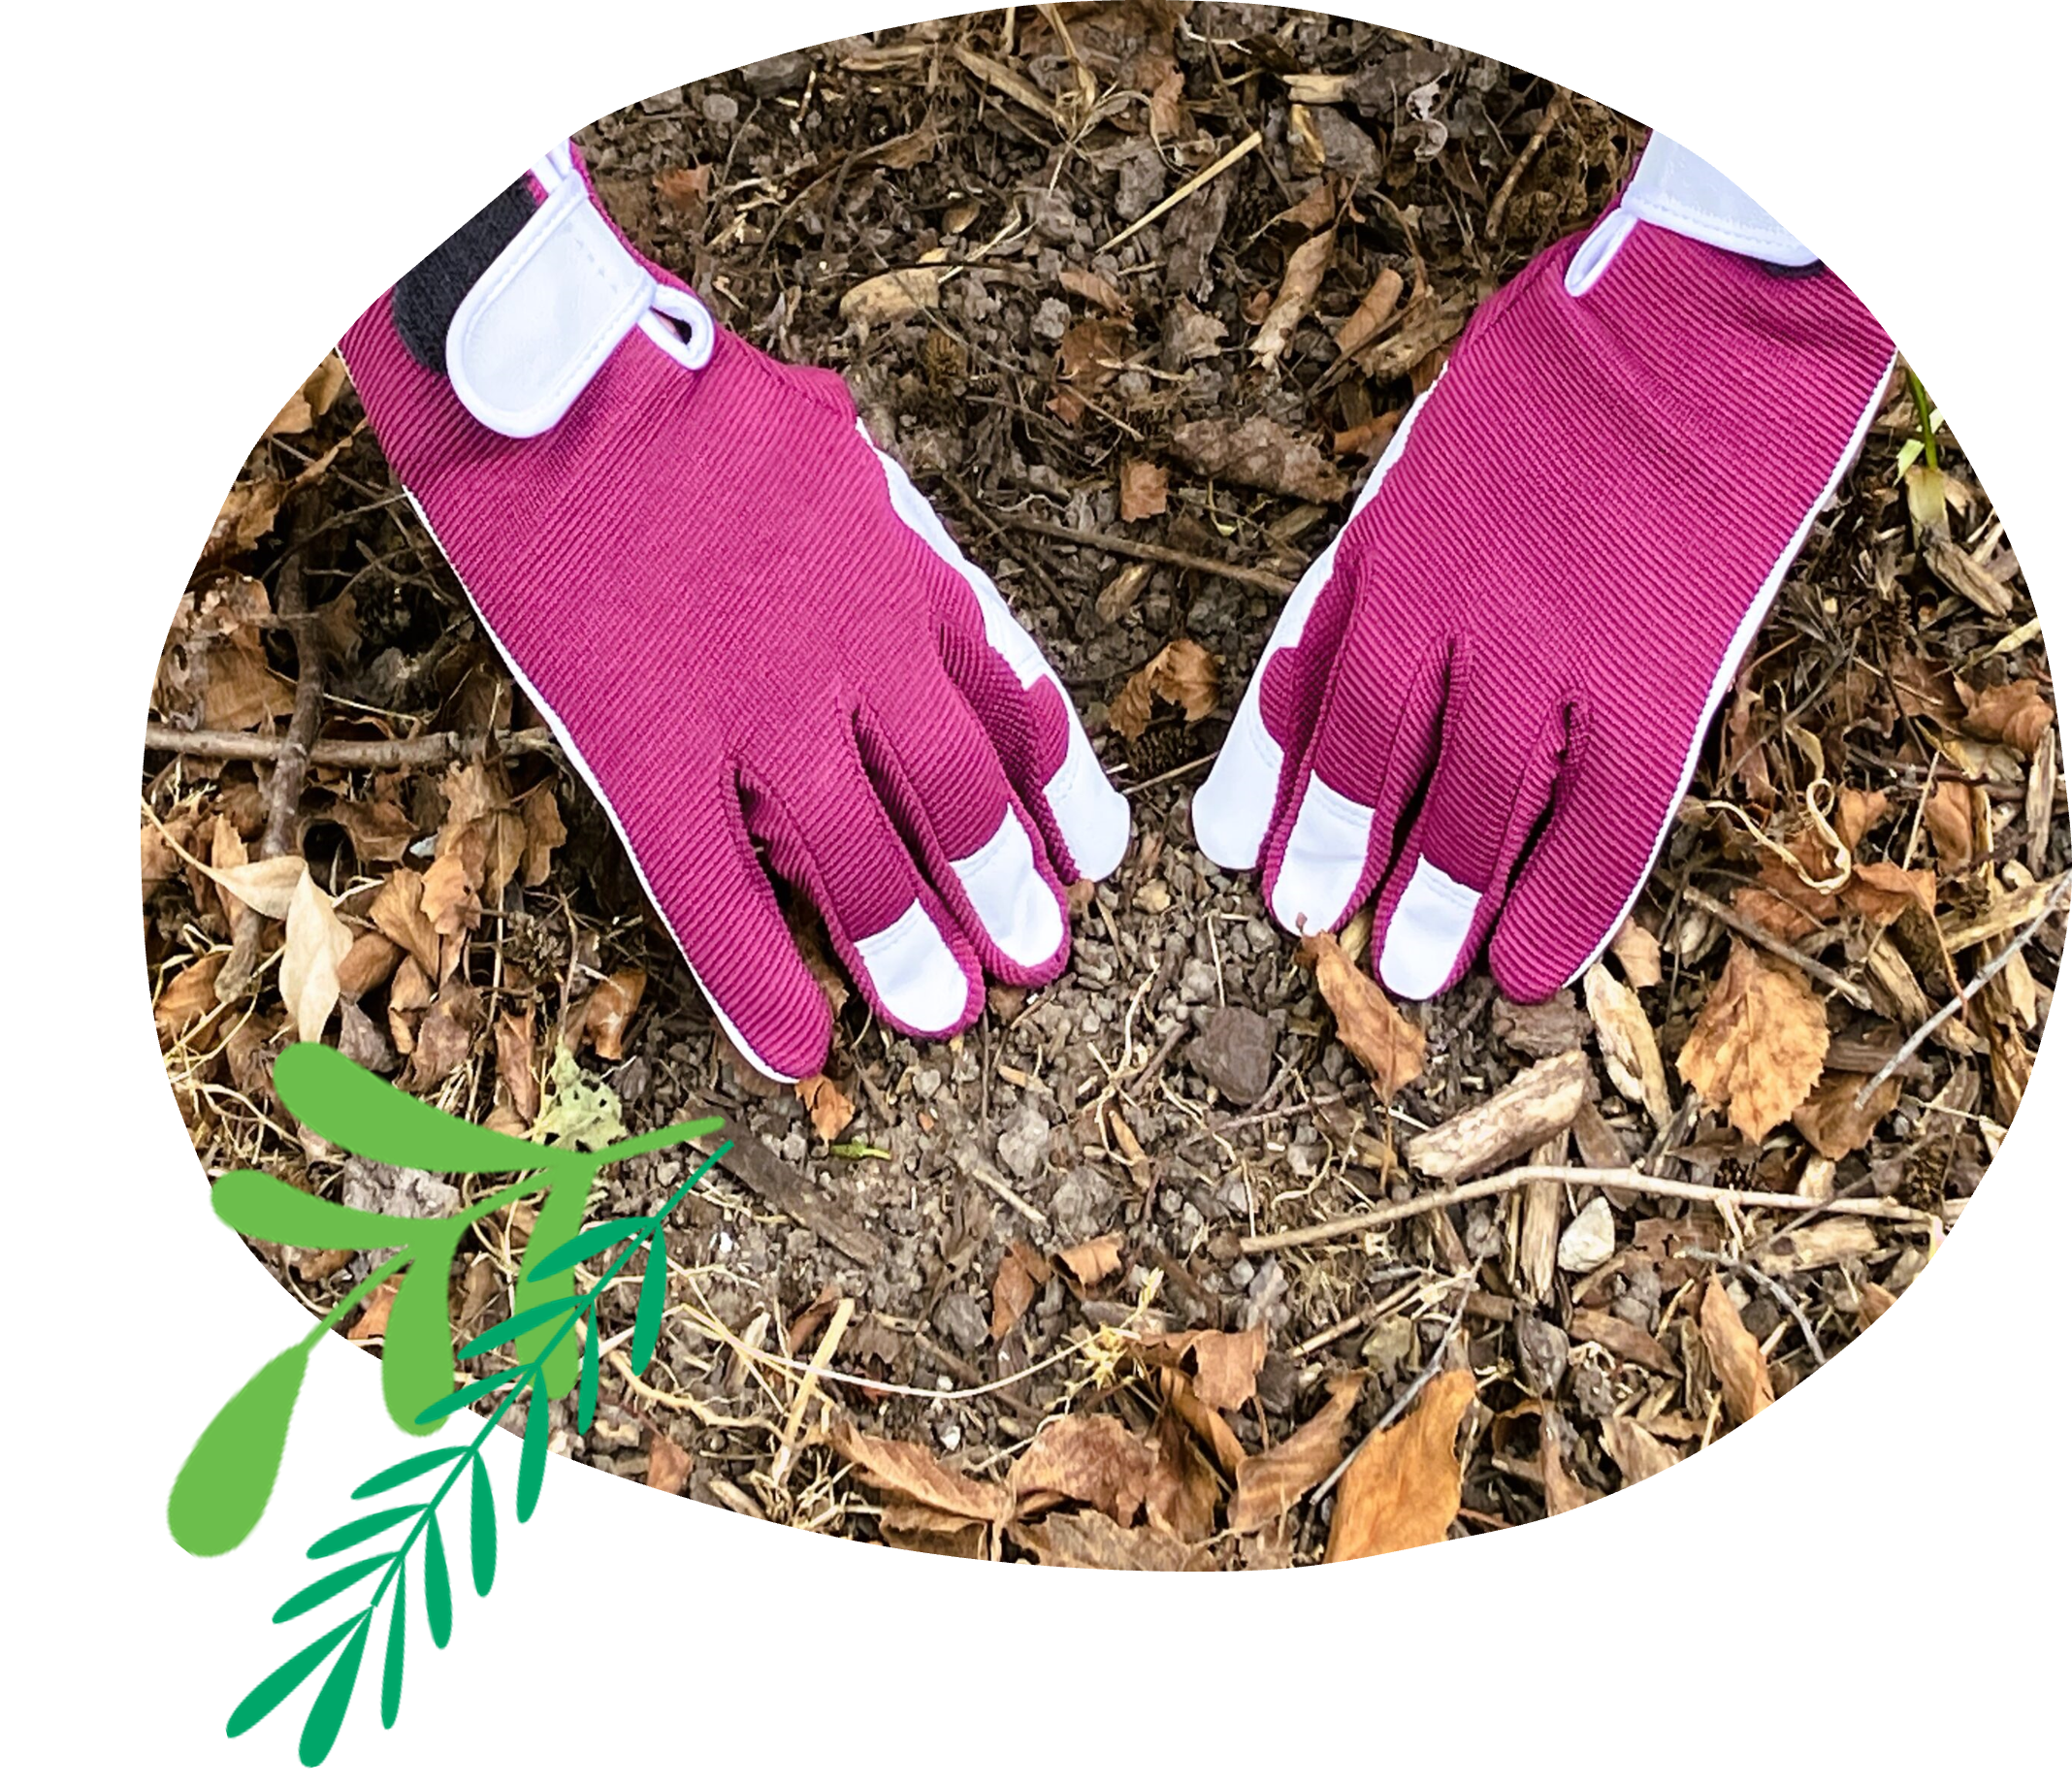
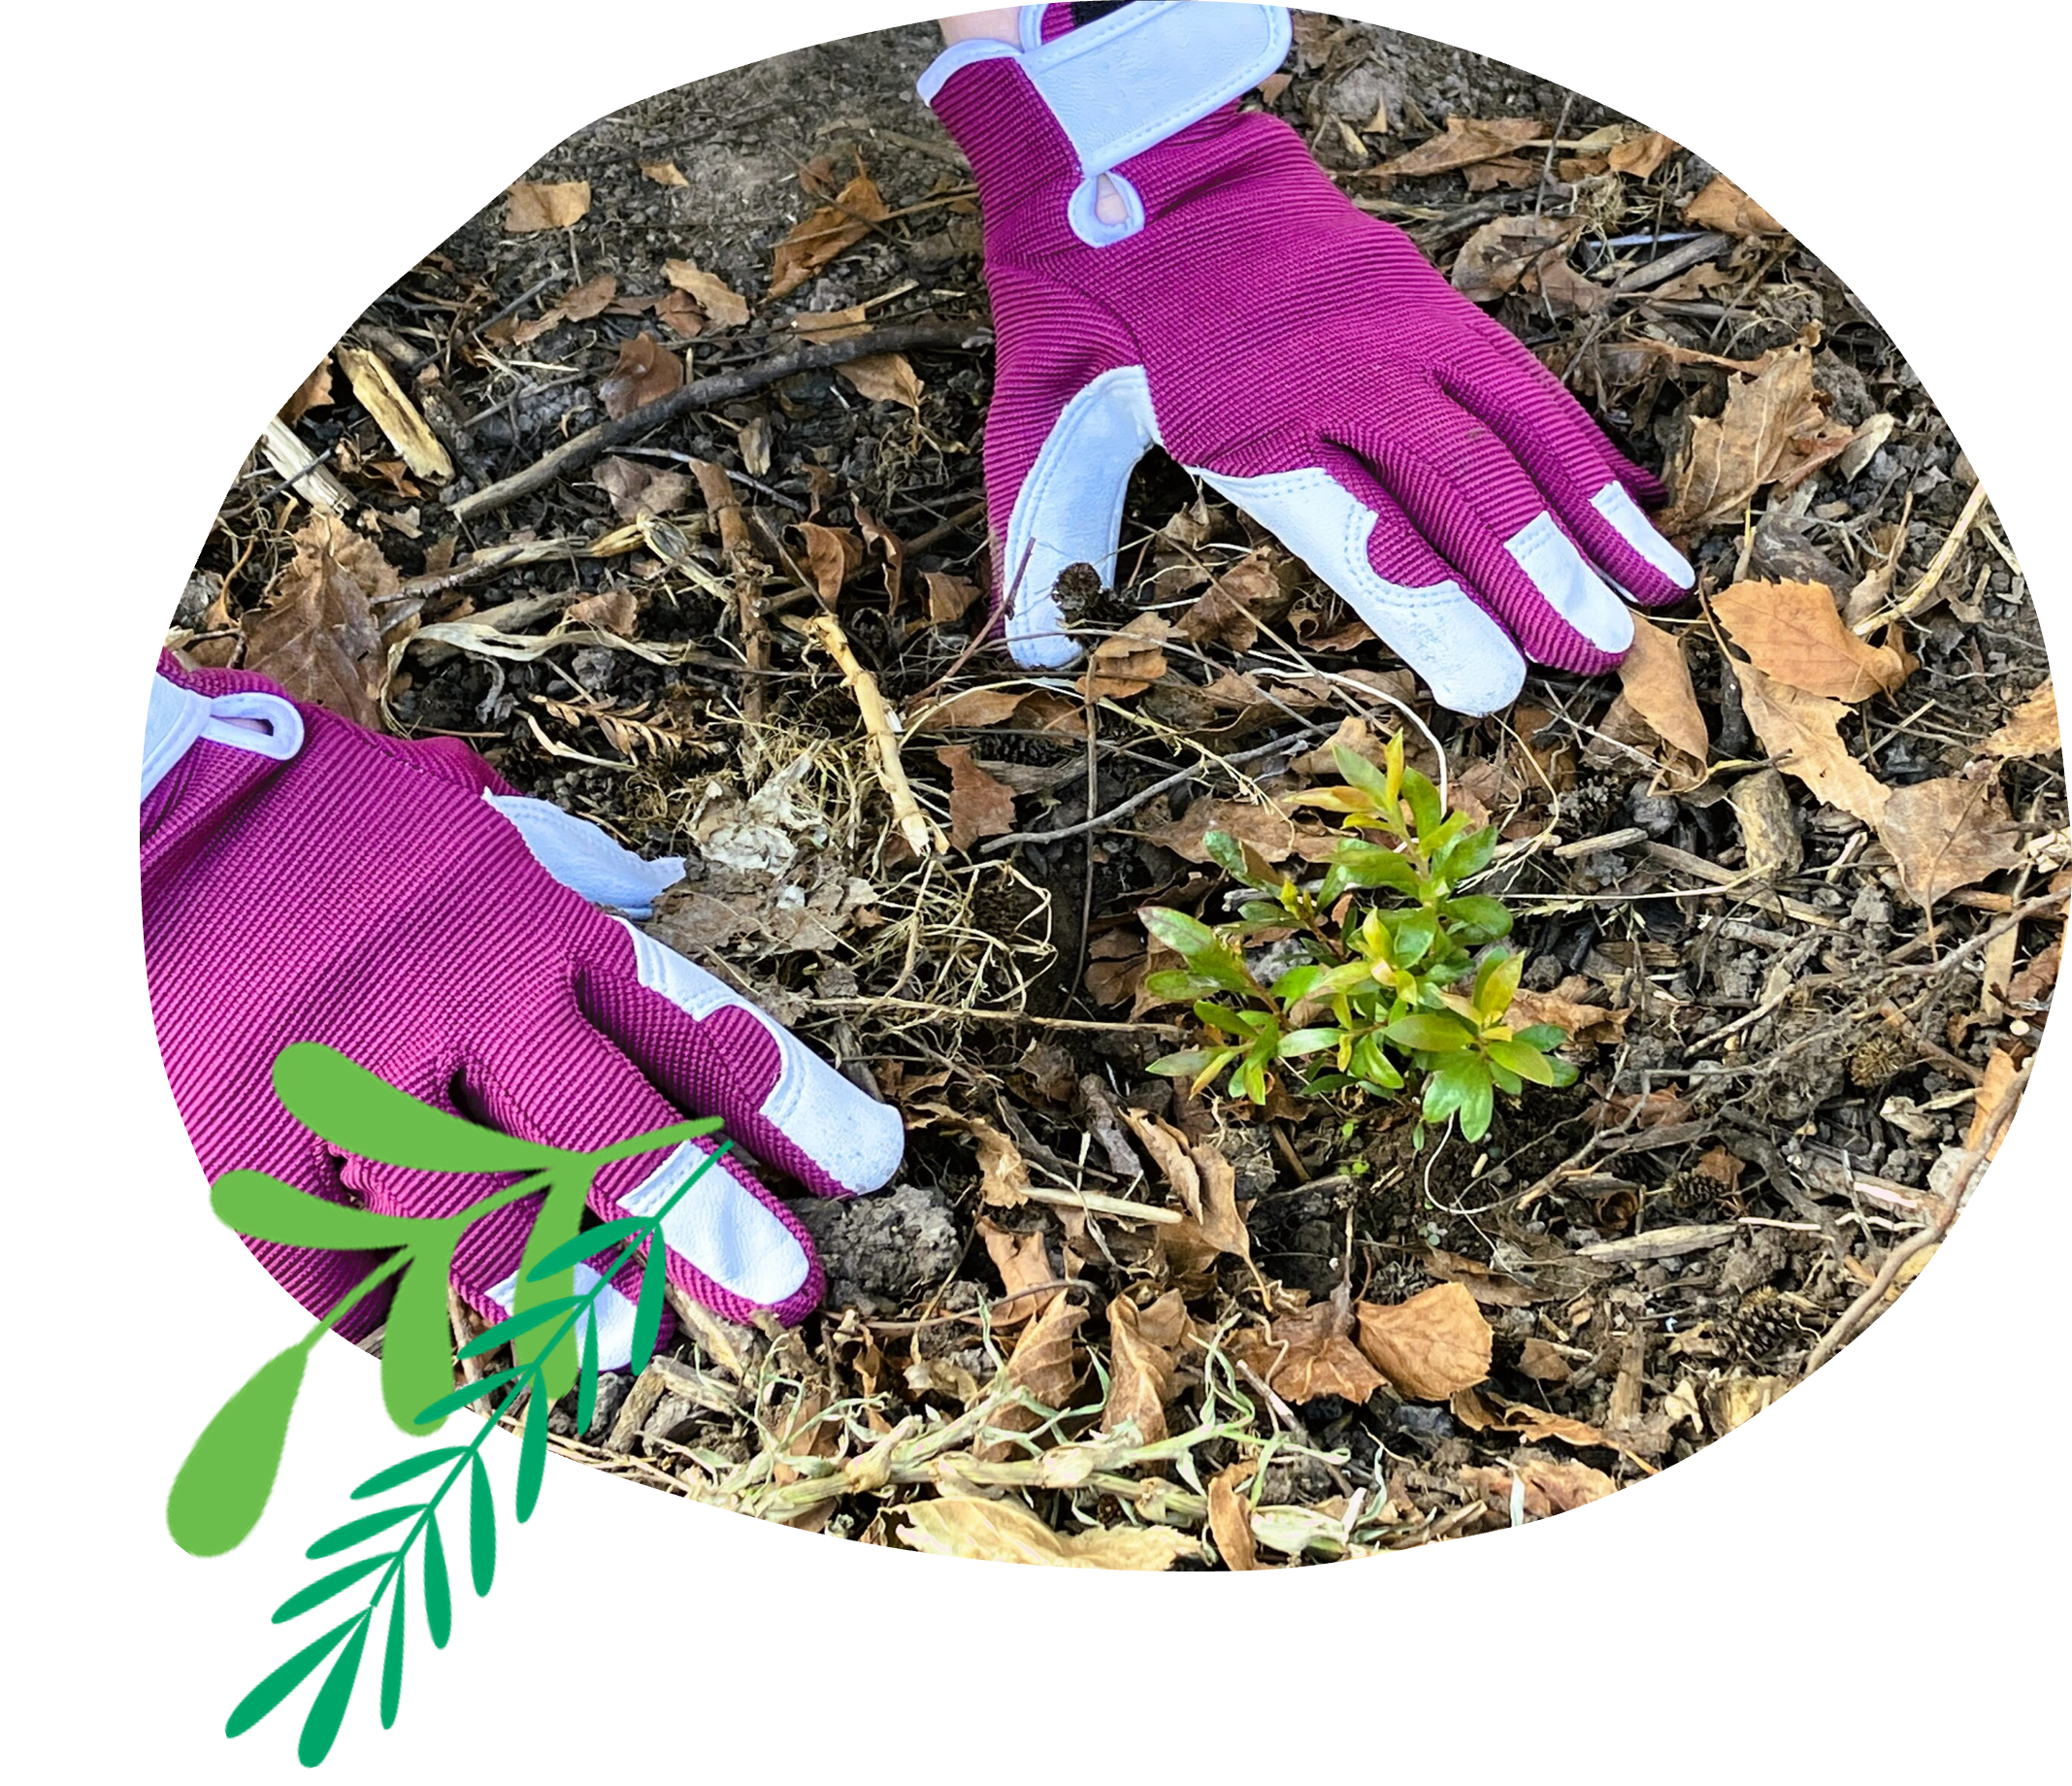
Step 1. Scoop away any leaf litter from the ground to be planted.
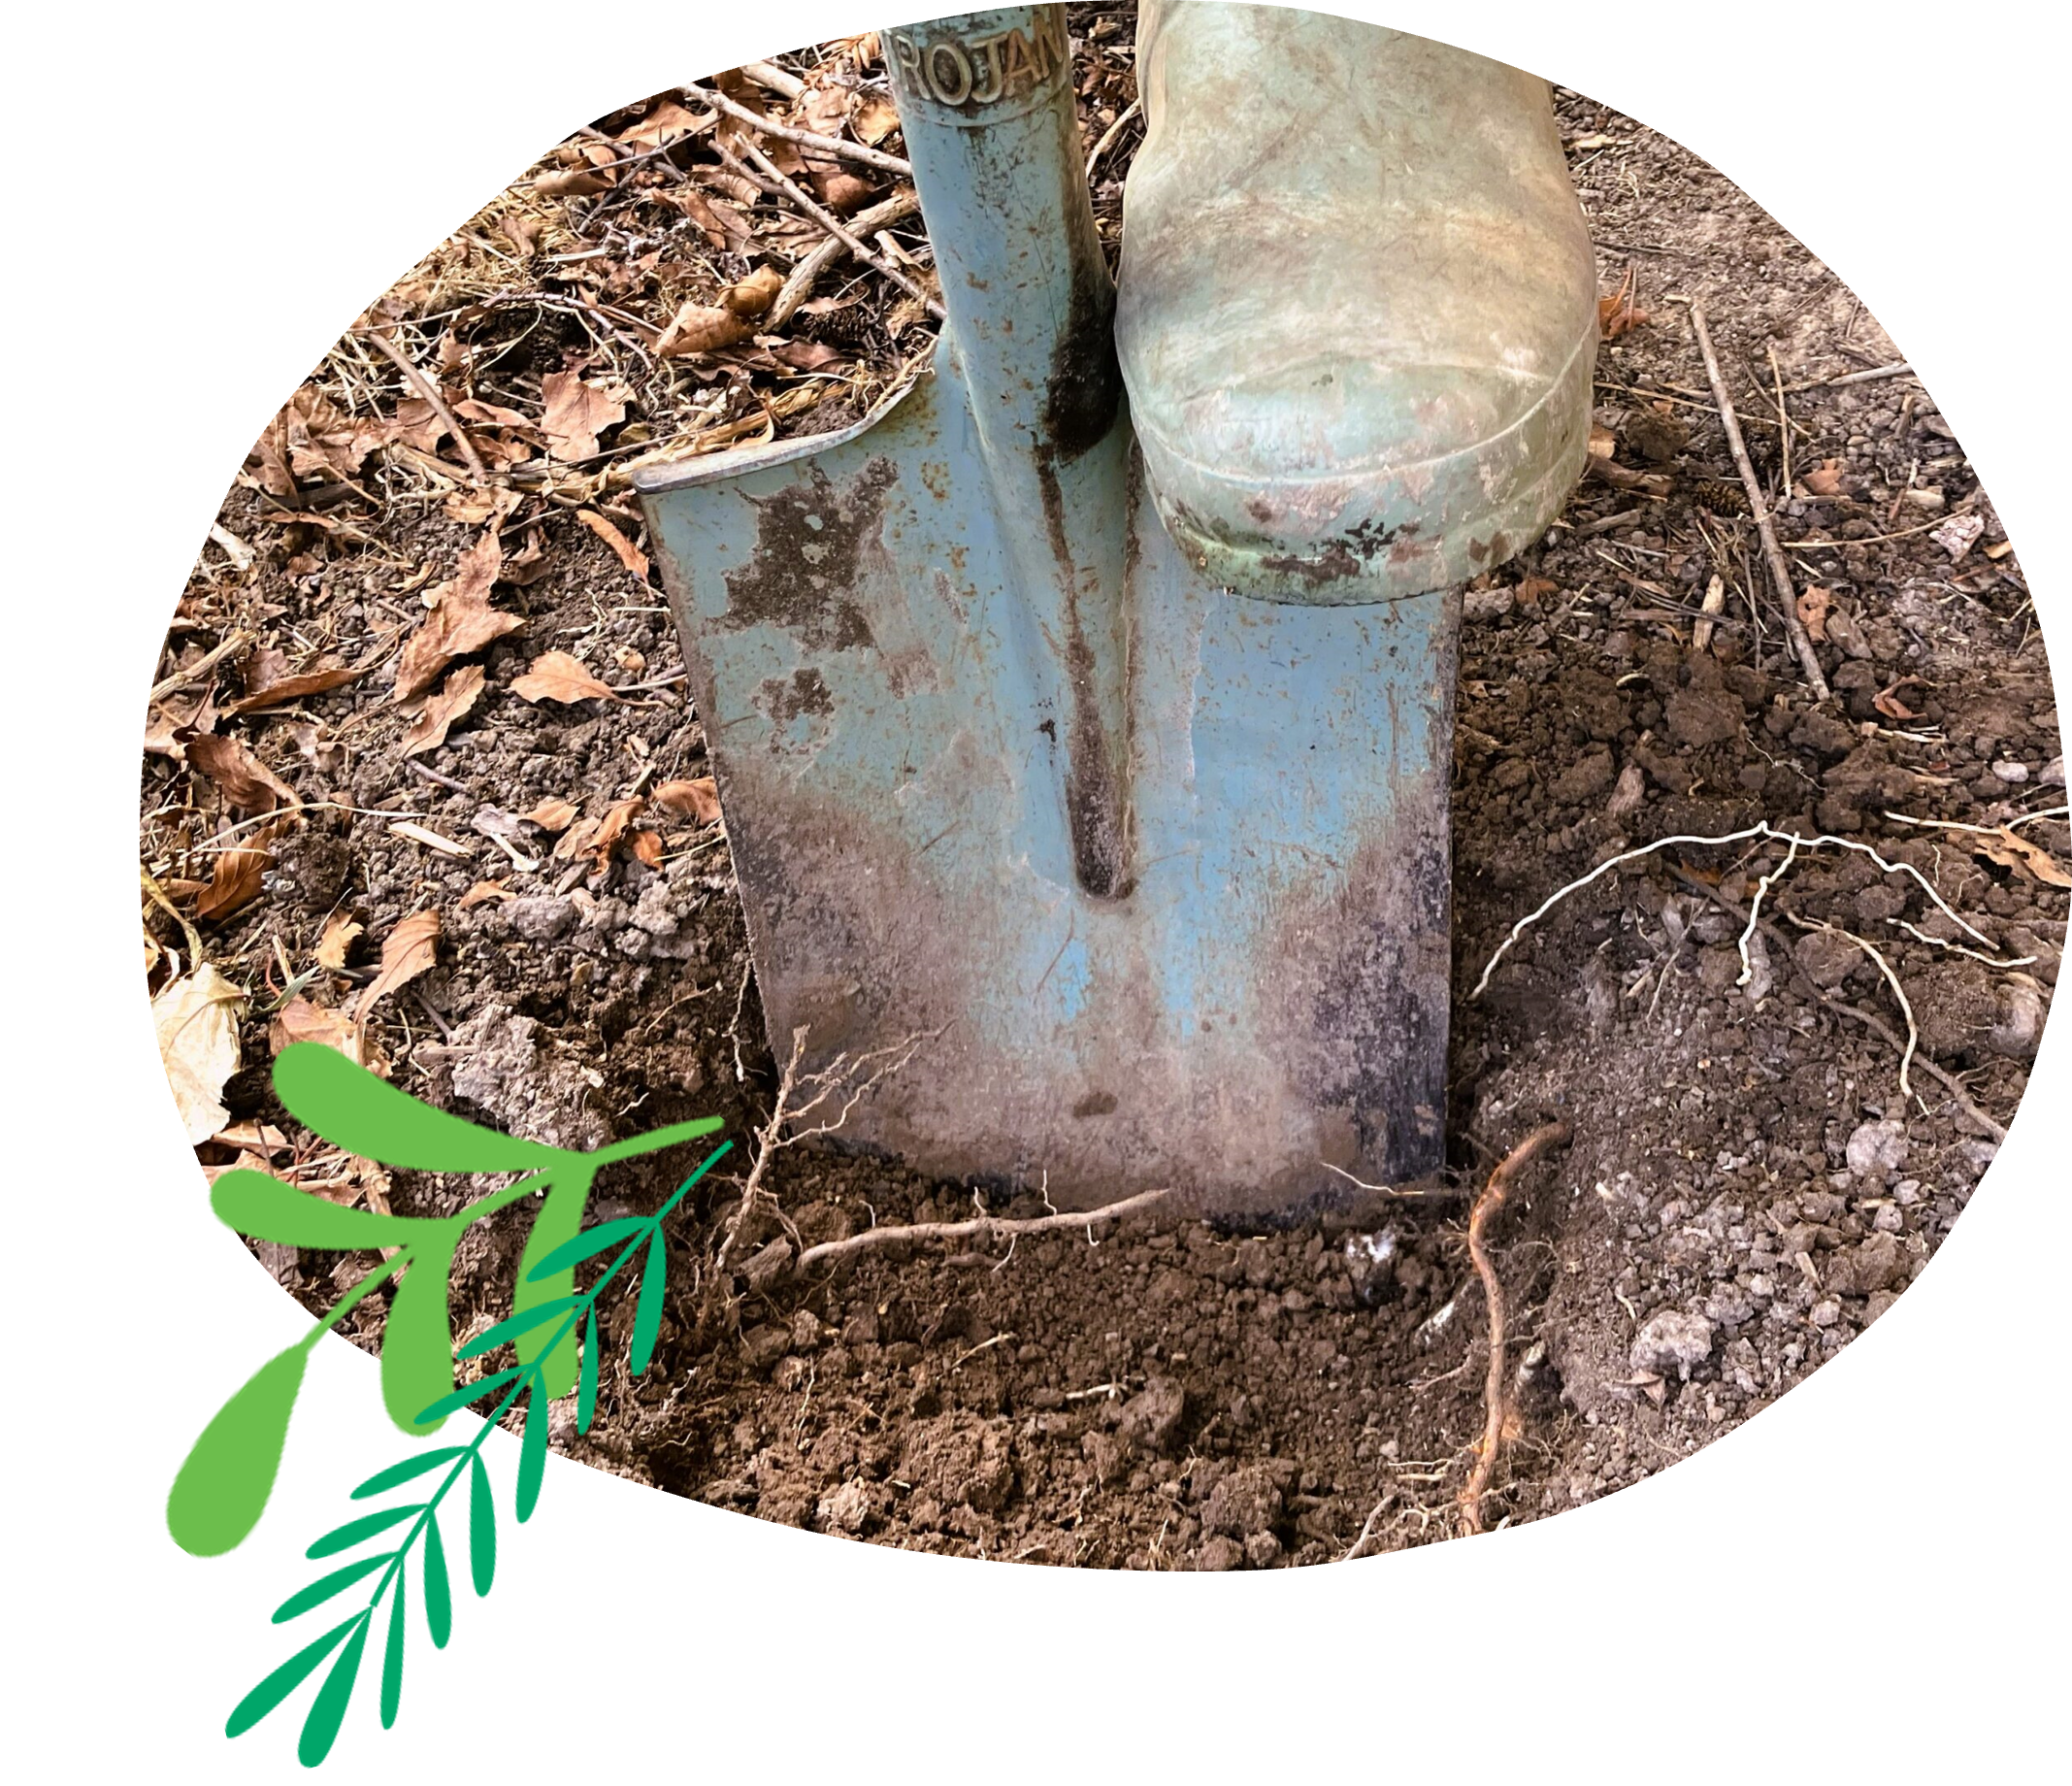
Step 2. Dig a hole for your seedling. You can either use a shovel, Hamilton planter or electric augur for digging. Make sure that the hole is deep enough for your seedling, but not too deep – cold air can get trapped under the roots, damaging them.

Step 3. Remove seedling from container as gently as possible. Firmly tap the top rim of the pot with a spade or on an edge, then turn the pot upside down – the pot should come straight off. You can also squeeze the pot if the seedling is root-bound.
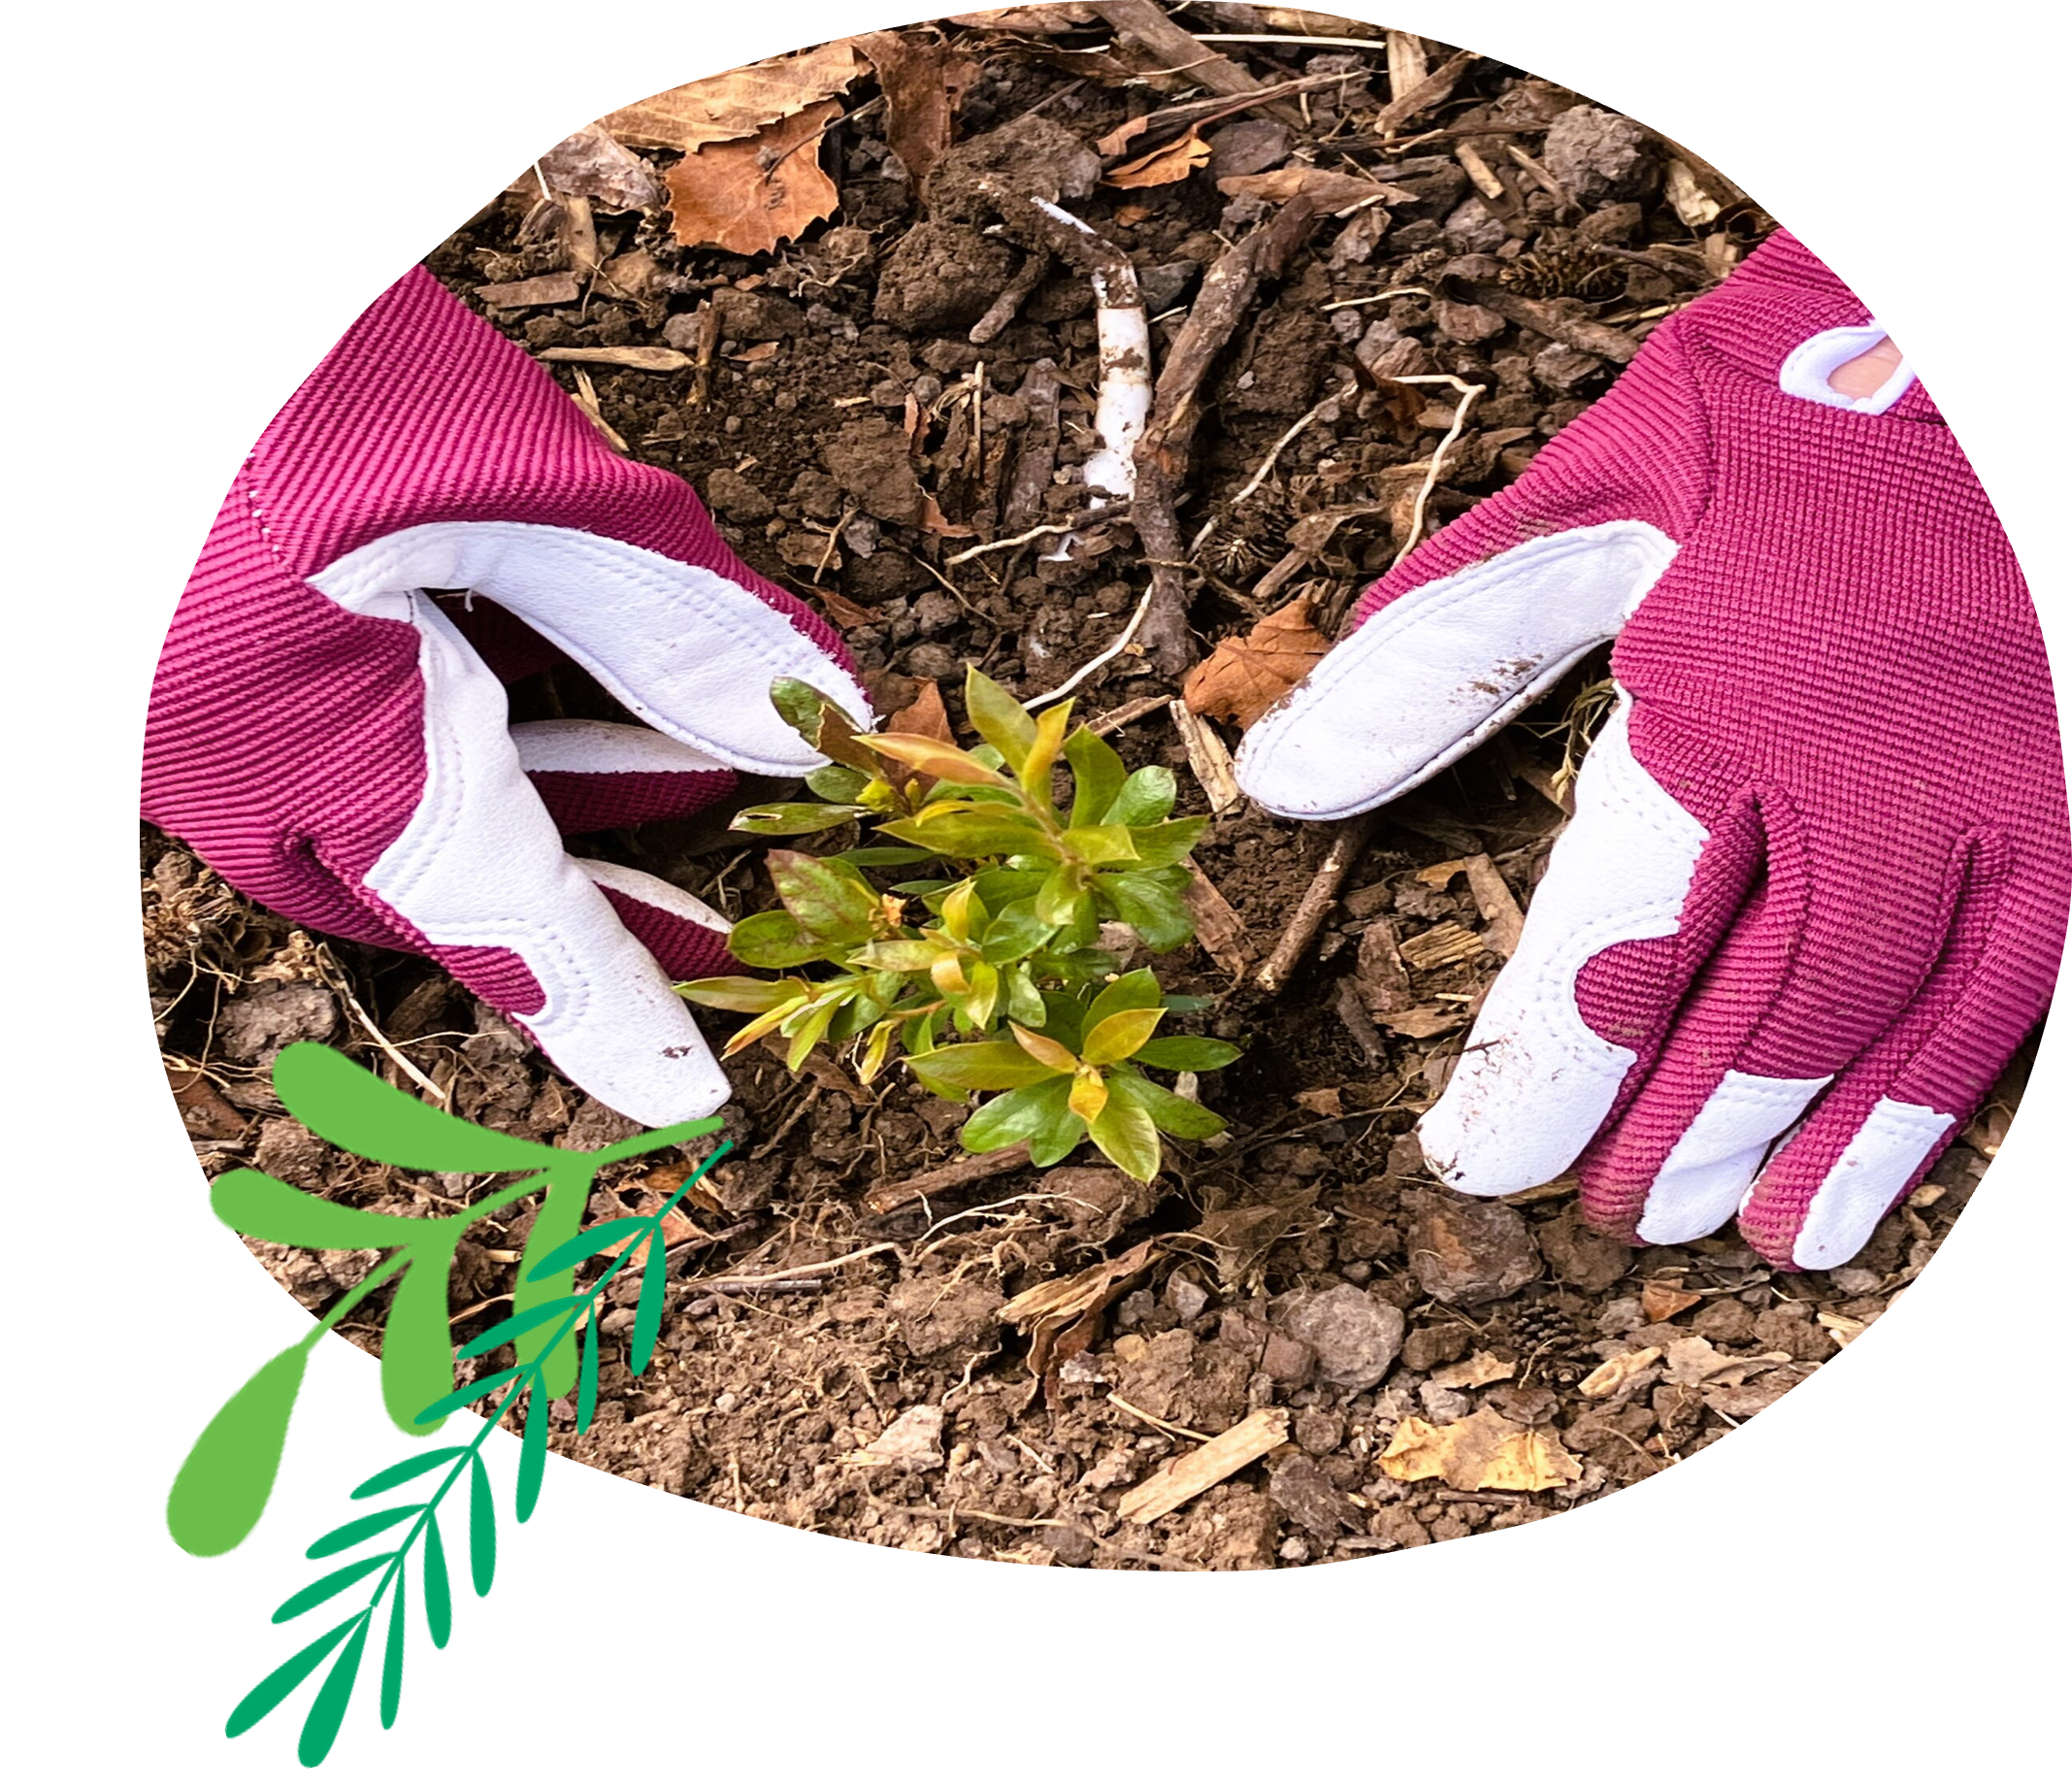
Step 4. Plant your seedling, ensuring that the seedling is planted below the surface of the ground (~2cm). This “bowl effect” will help trap and direct water to the seedling.
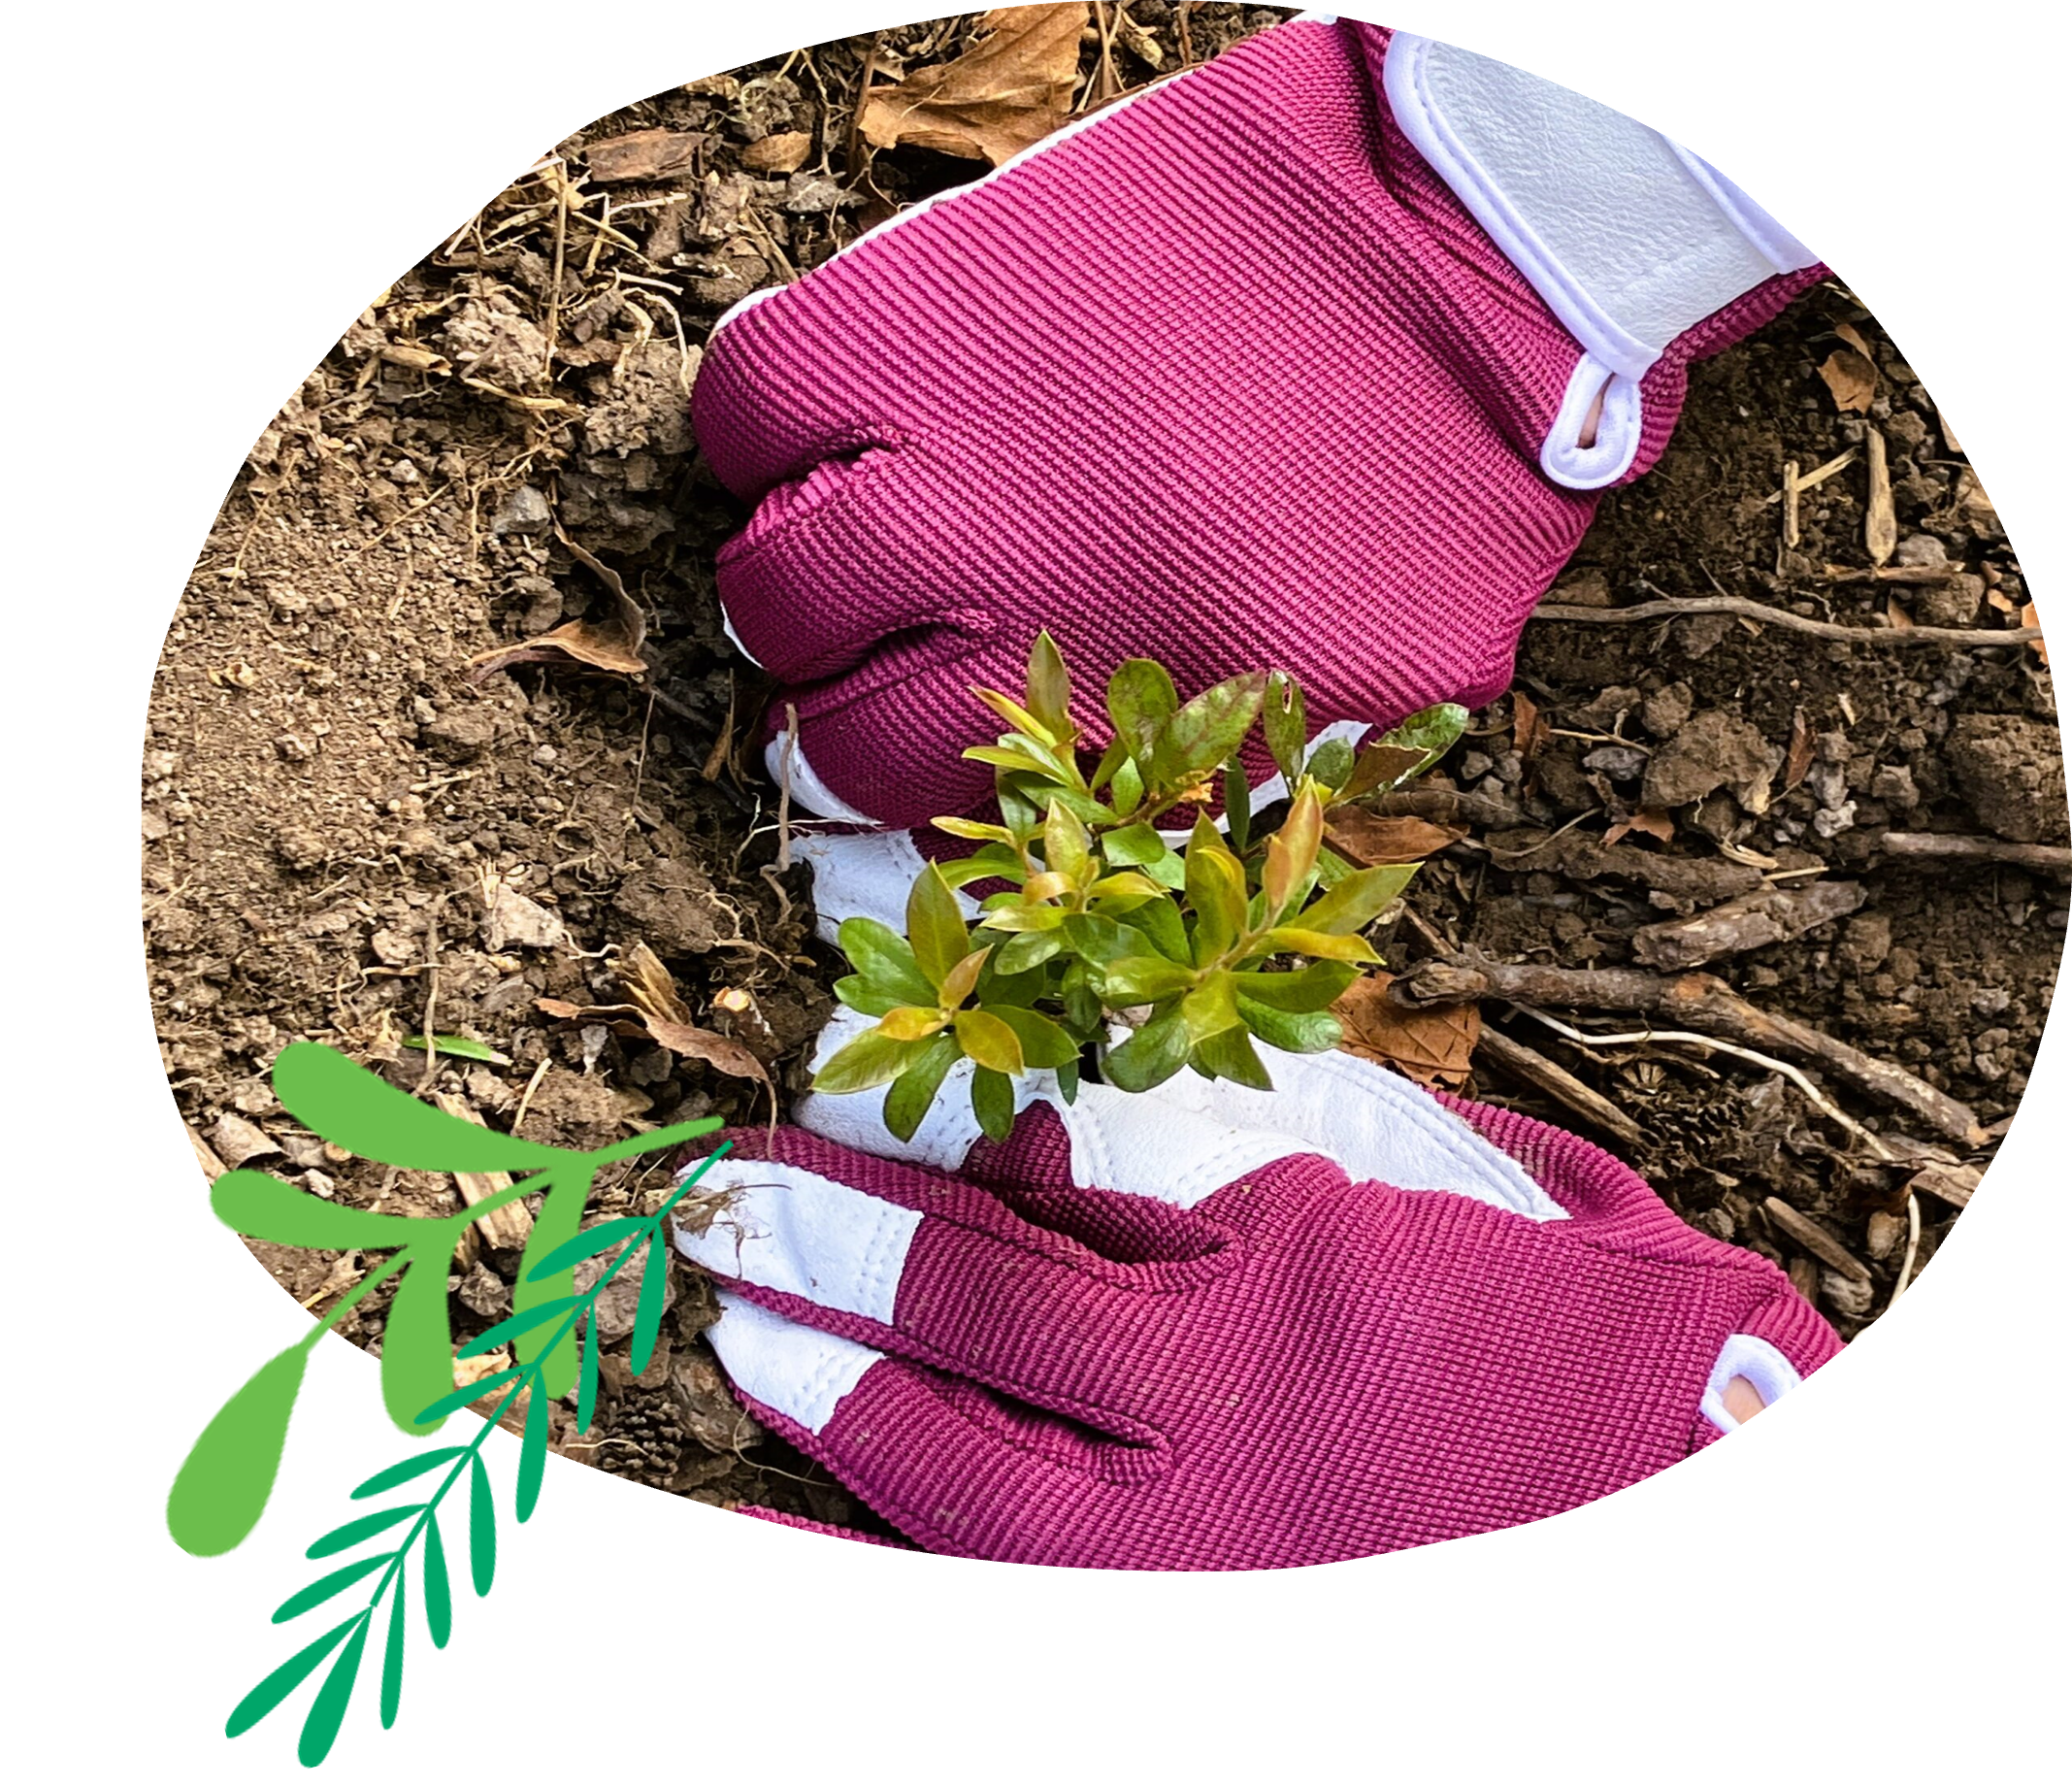
Step 5. Push soil down gently around seedling so that there are no air gaps.
Step 6. Bring back mulch around plant (keeping stem ~5cm clear of mulch).
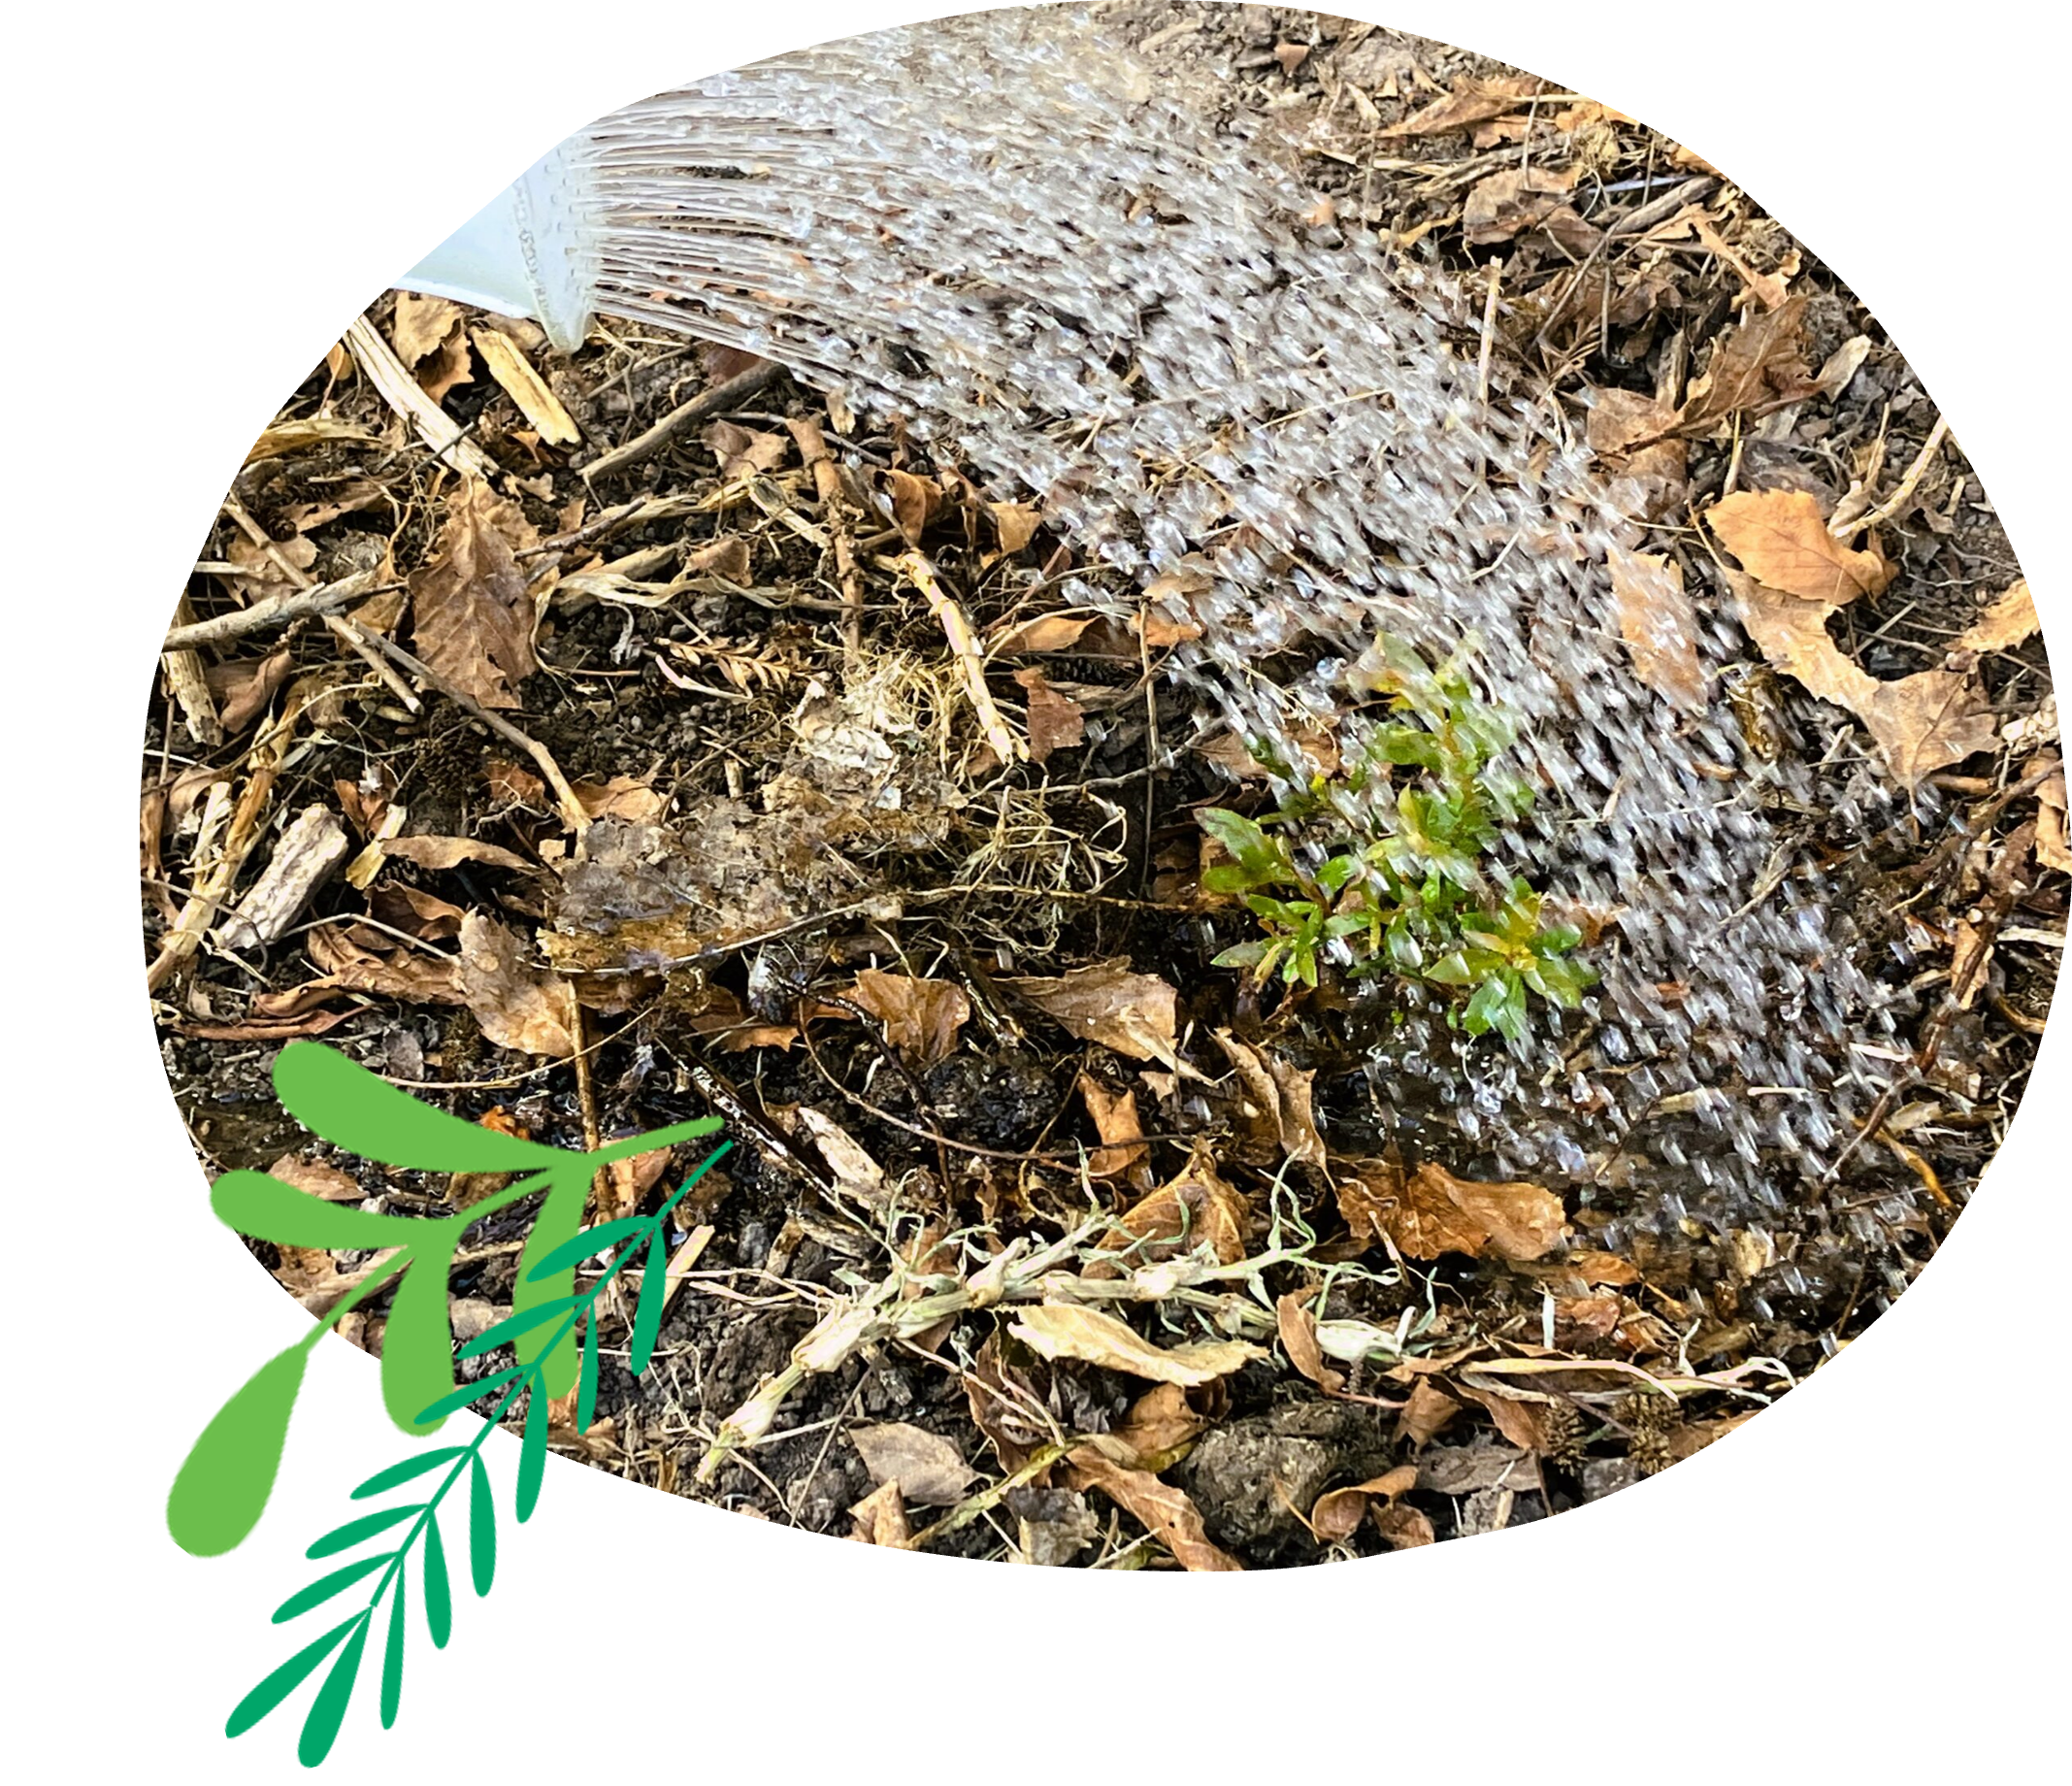
Step 8. Water in you seedling, taking care not to disturb the soil around the plant.
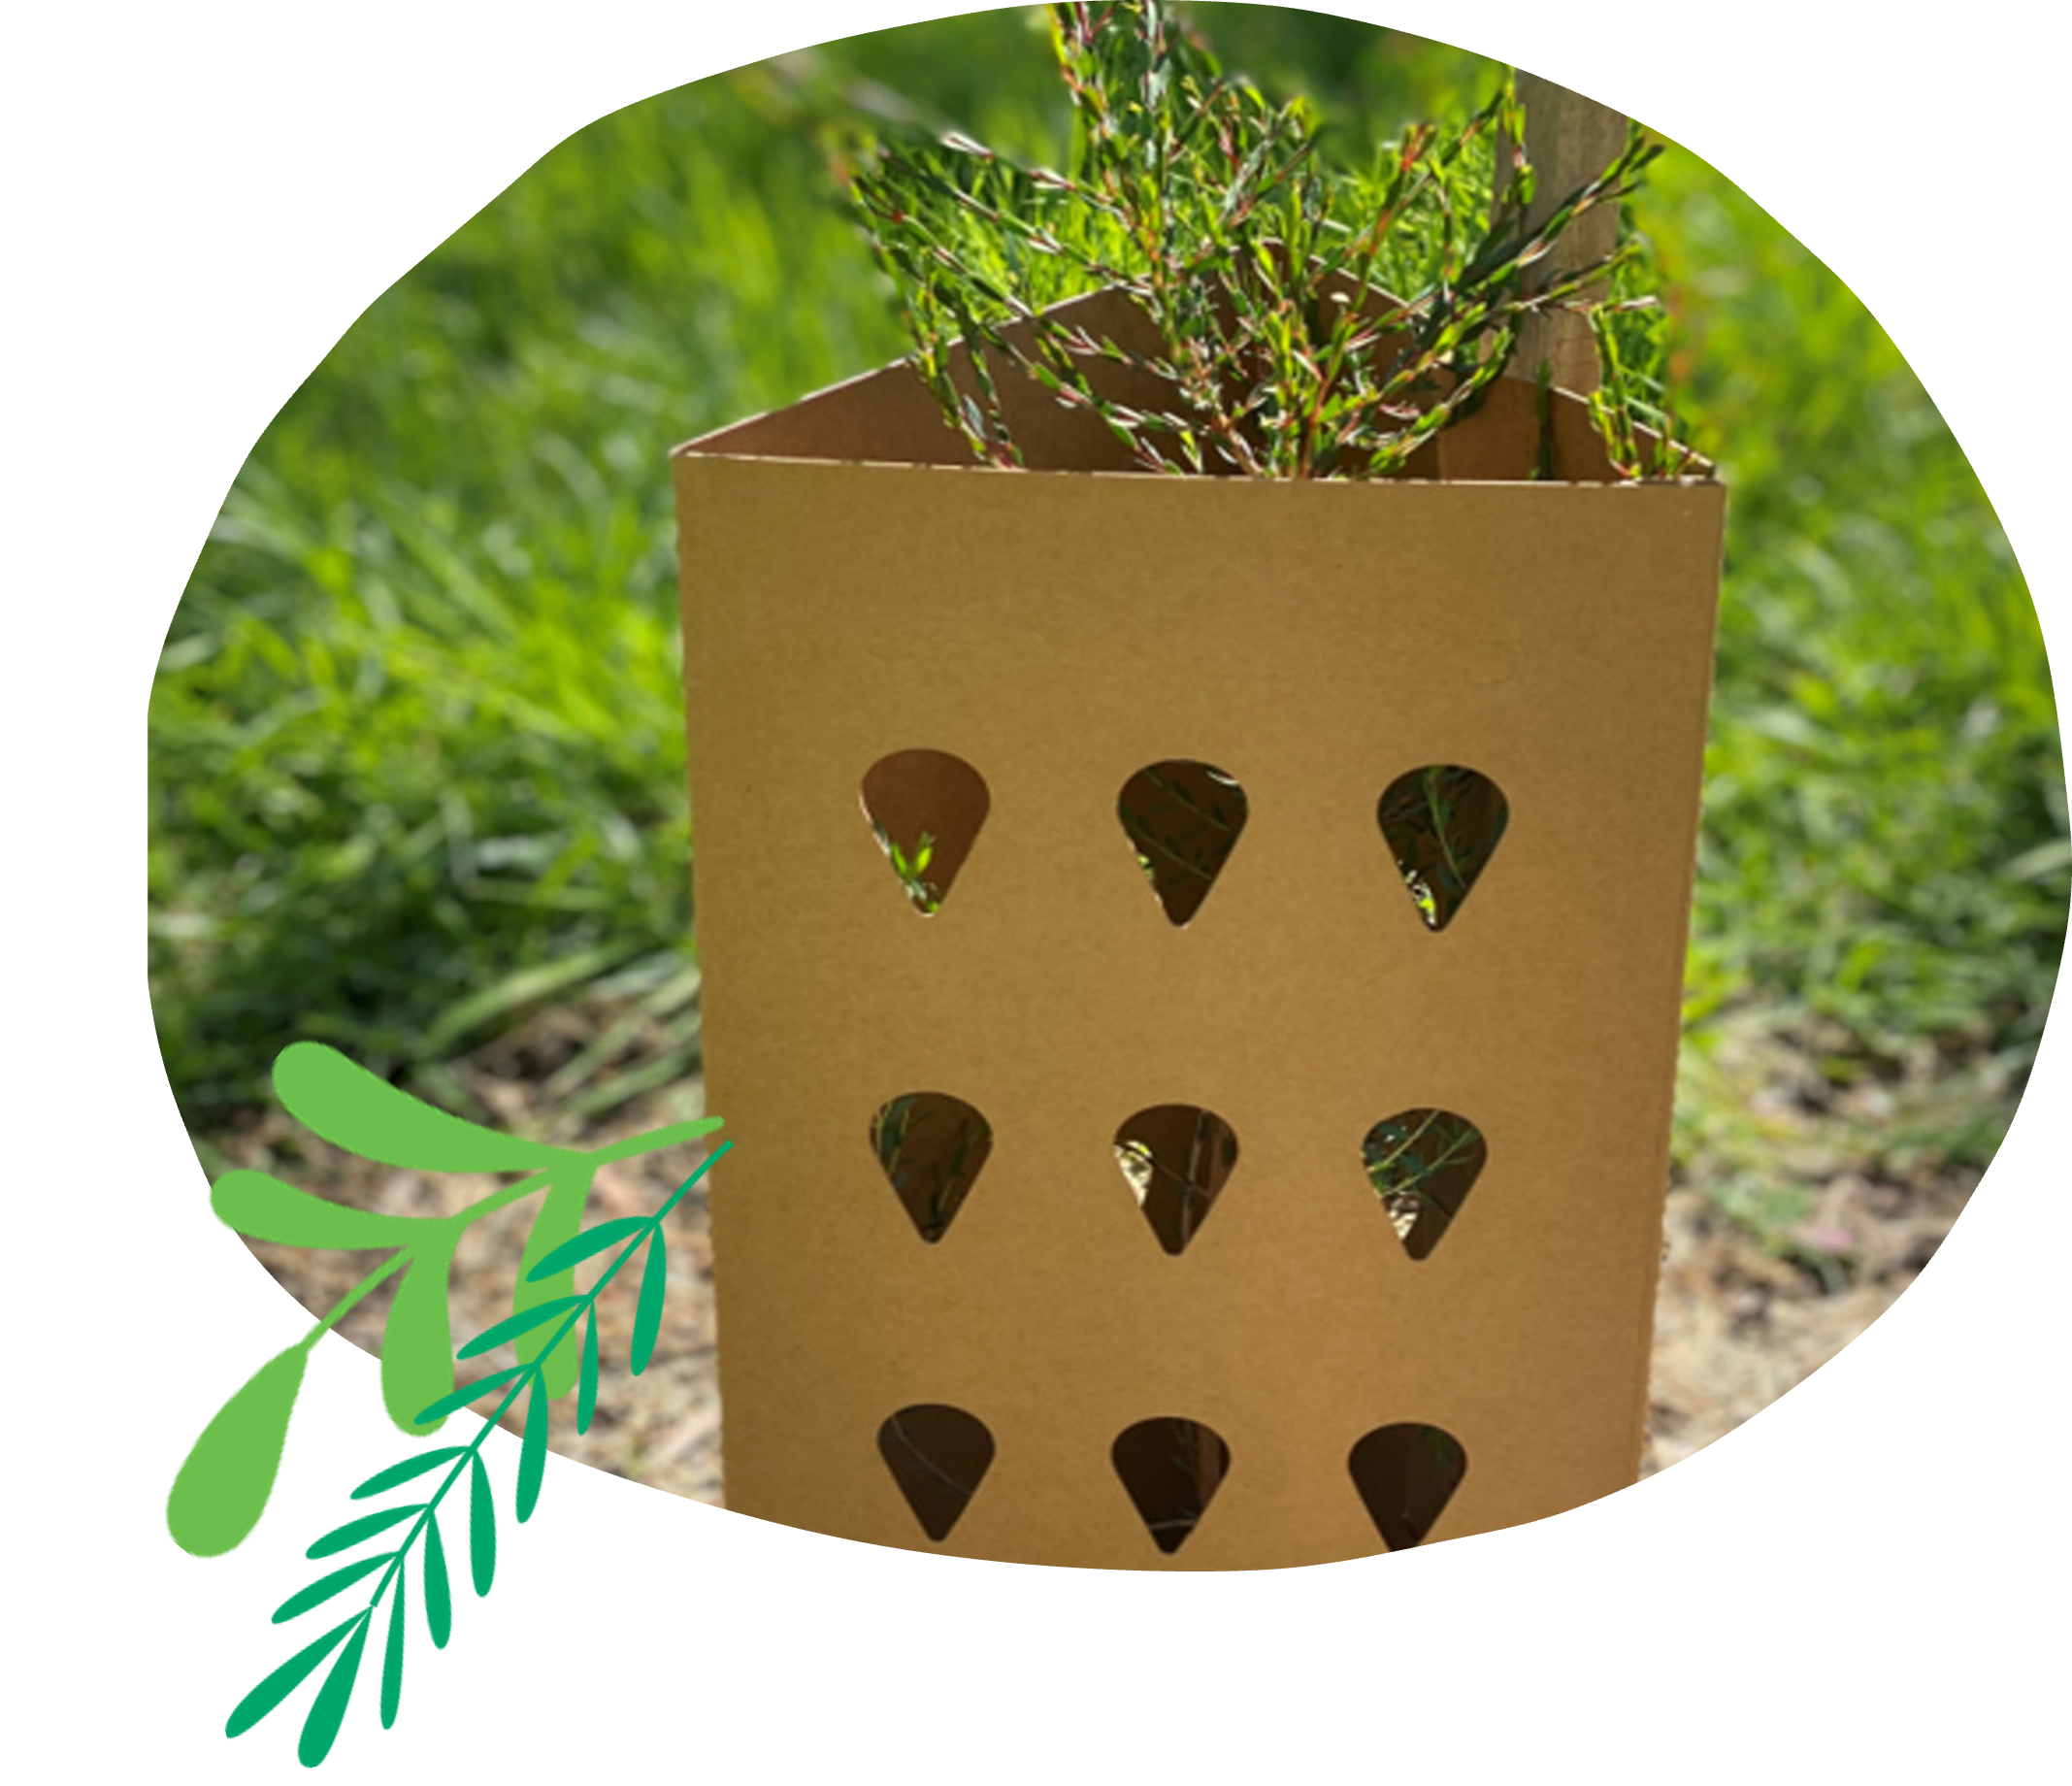
Step 9. Place a biodegradable tree guard around your seedling, with the seedling in the centre of the tree gaurd. Use a rubber mallet to bang in the stake.