Before You Start
Start collecting your recycled containers a few weeks before you do your cutting collection. Wash your recycled containers and put them in the sun for 24 hours to sterilise them.
Cuttings can be collected at any time of the year. The best time of the year to collect cuttings however is late spring or early summer. Cuttings taken at other times may take longer to strike roots.
It’s best to collect cuttings in the morning when plants are well-hydrated.
Taking A Cutting
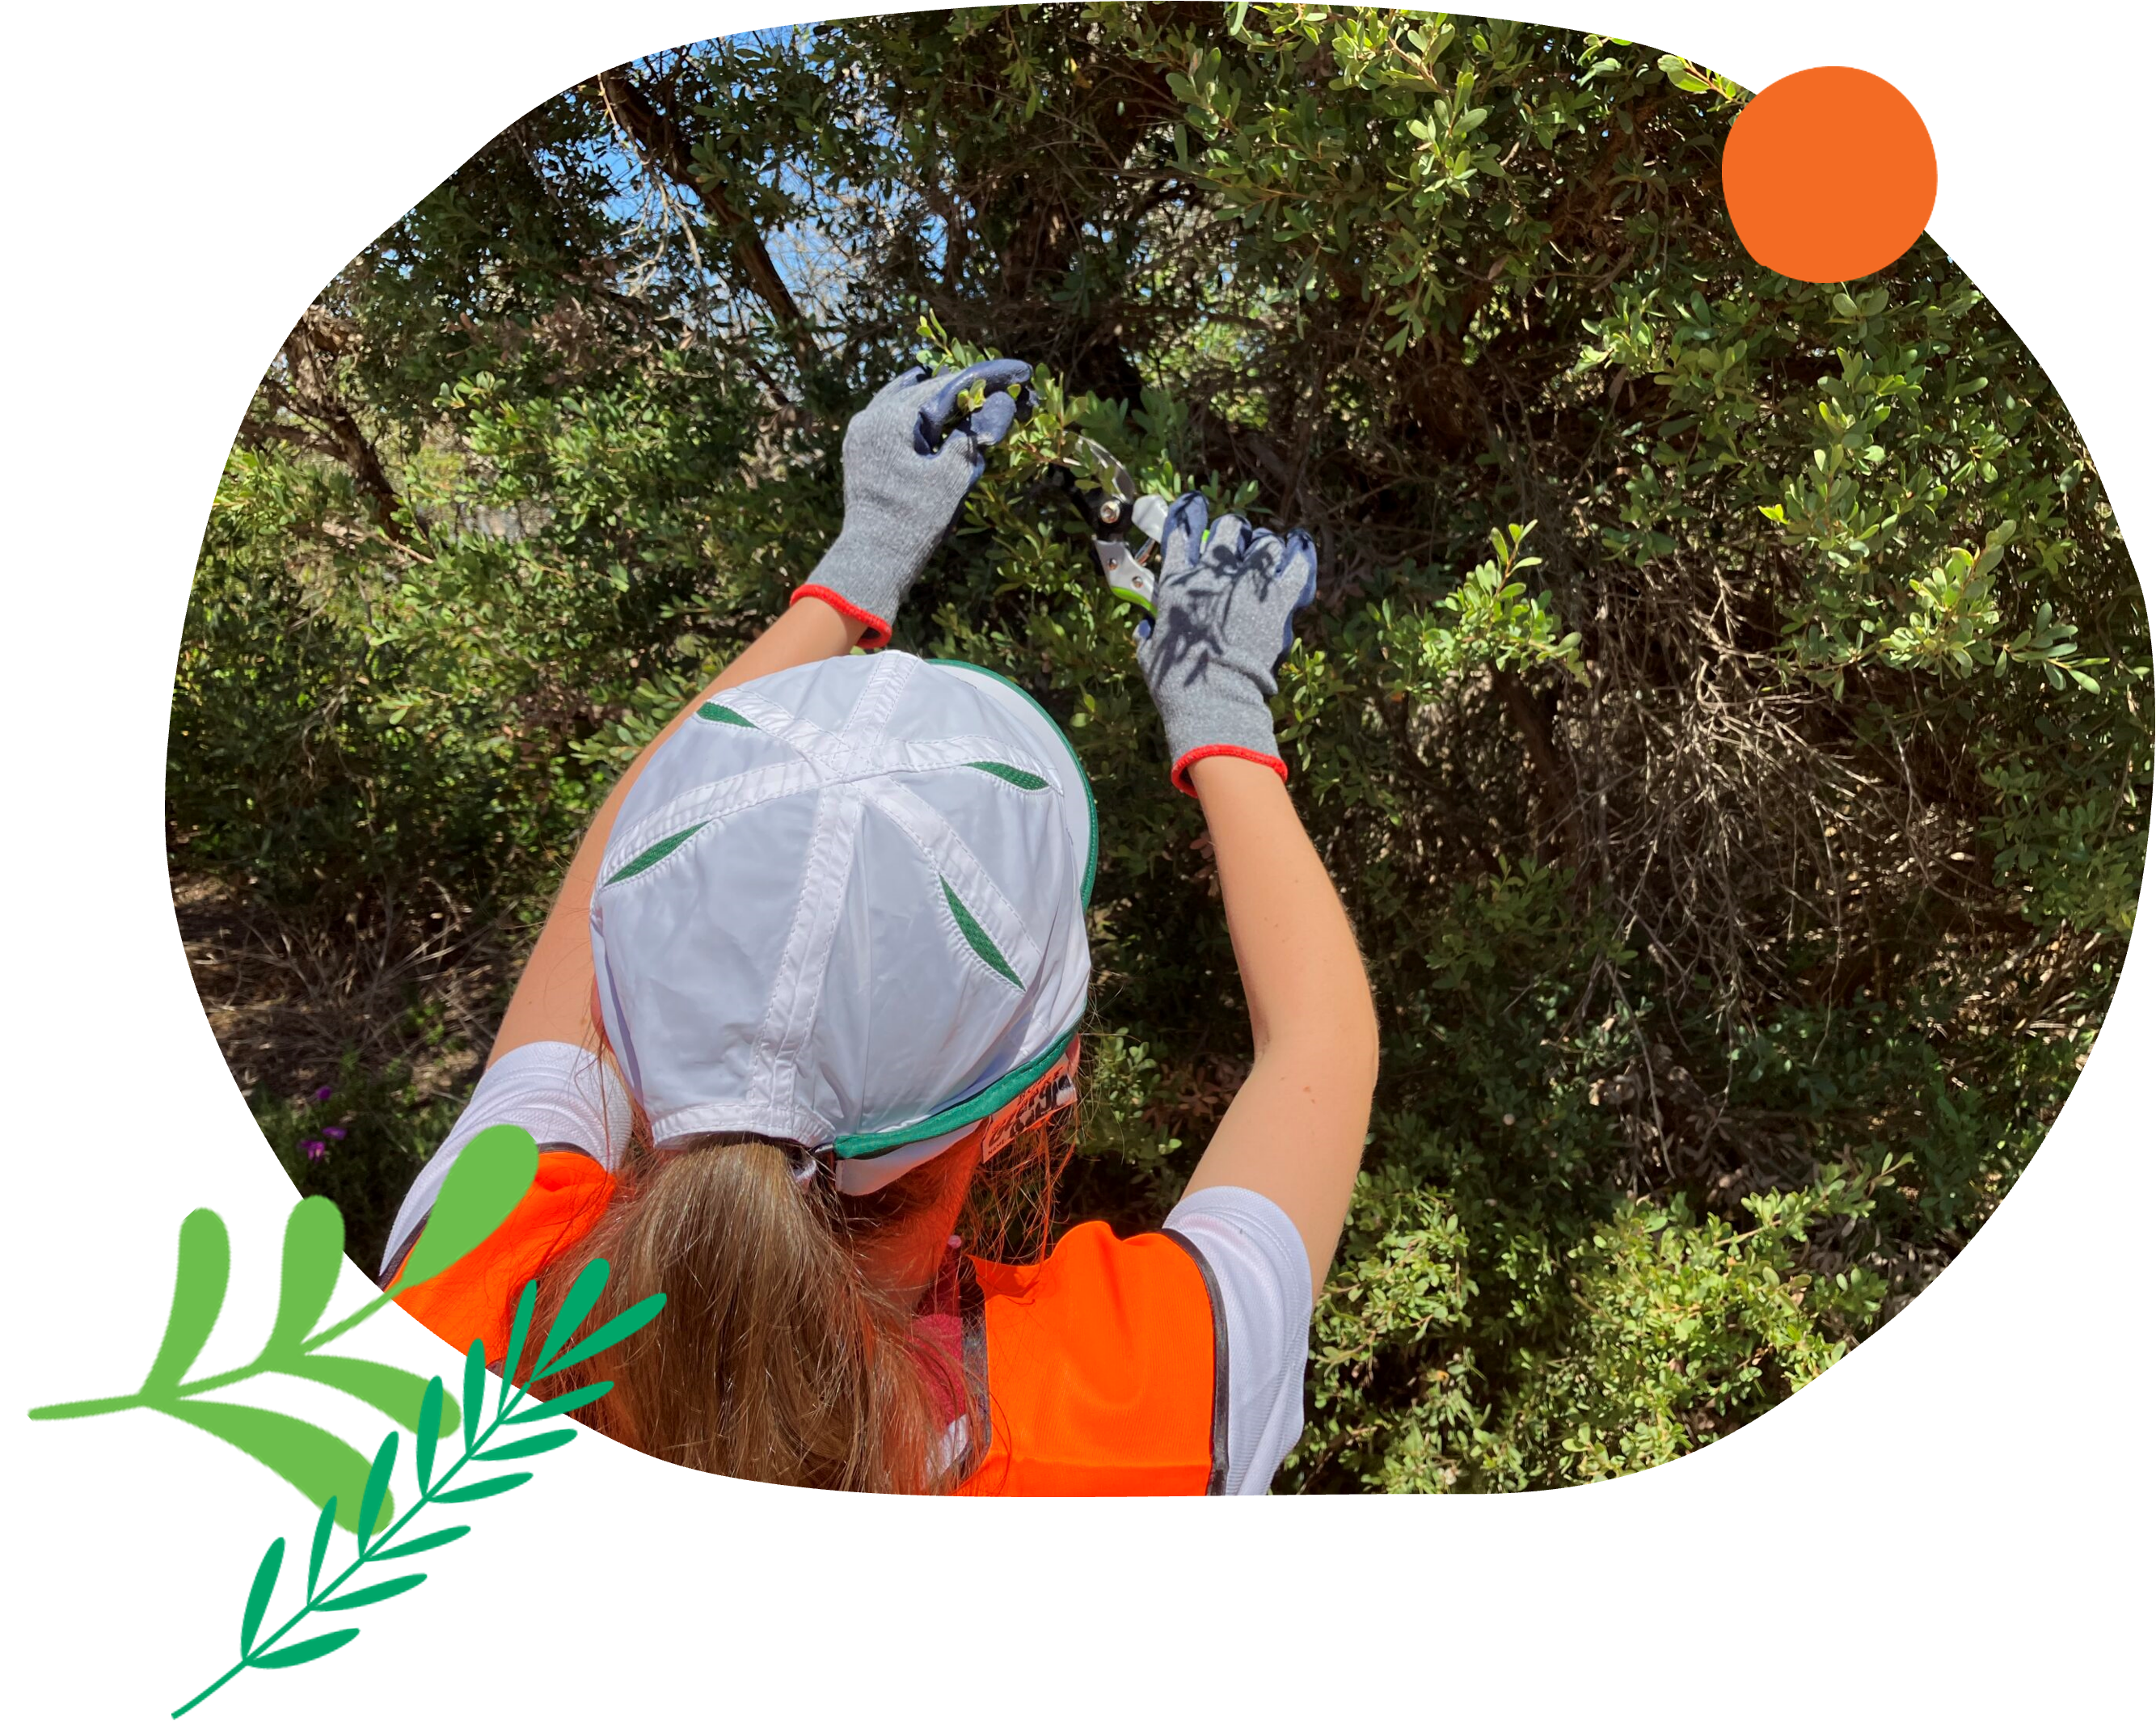
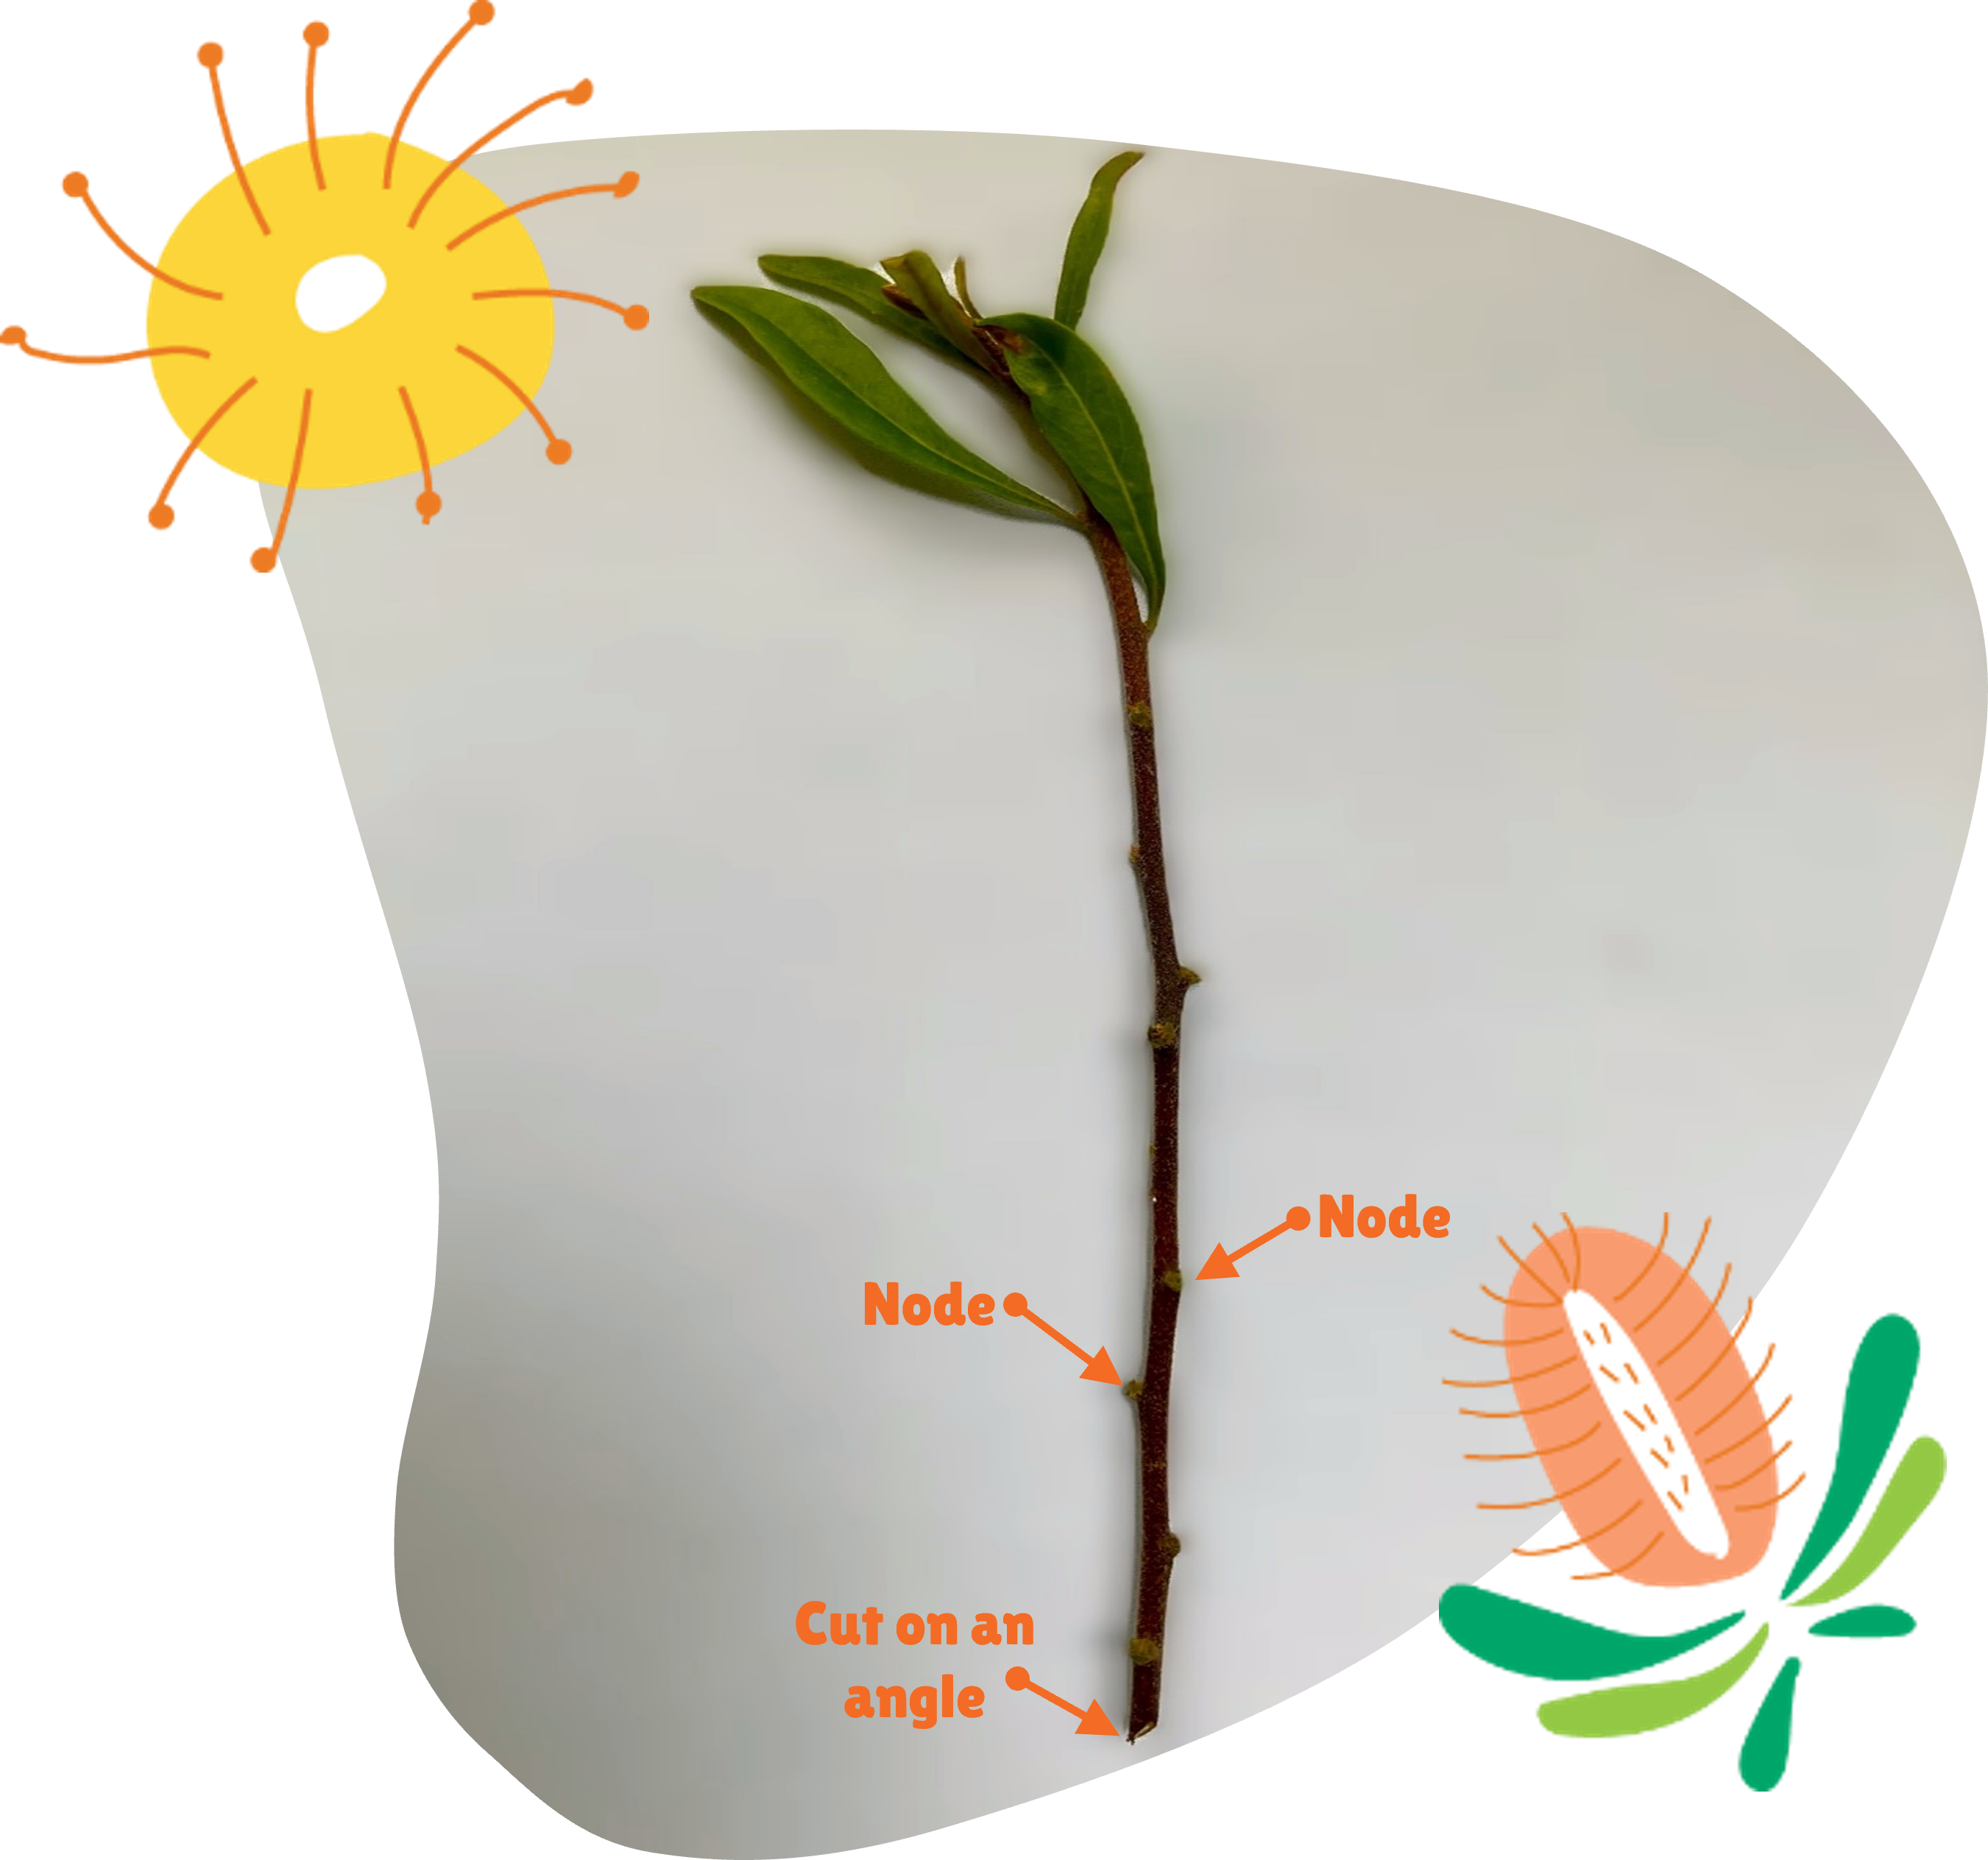
Choose a small hardwood branch with lots of nodes on it. Nodes are the little bumps on the side of the stem where a leaf normally grows from. Using secateurs, take a cutting about 10cm from the end of the stem. Aim to have at least six nodes, as you will bury 3-4 nodes in your propagating mix.
Avoid taking cuttings from plants that are budding or flowering or that are diseased. Also avoid the hard, older material and the soft new growth, and go for firm stems from this season’s growth. Quick test: the cutting should spring back when you gently bend it.
Activities
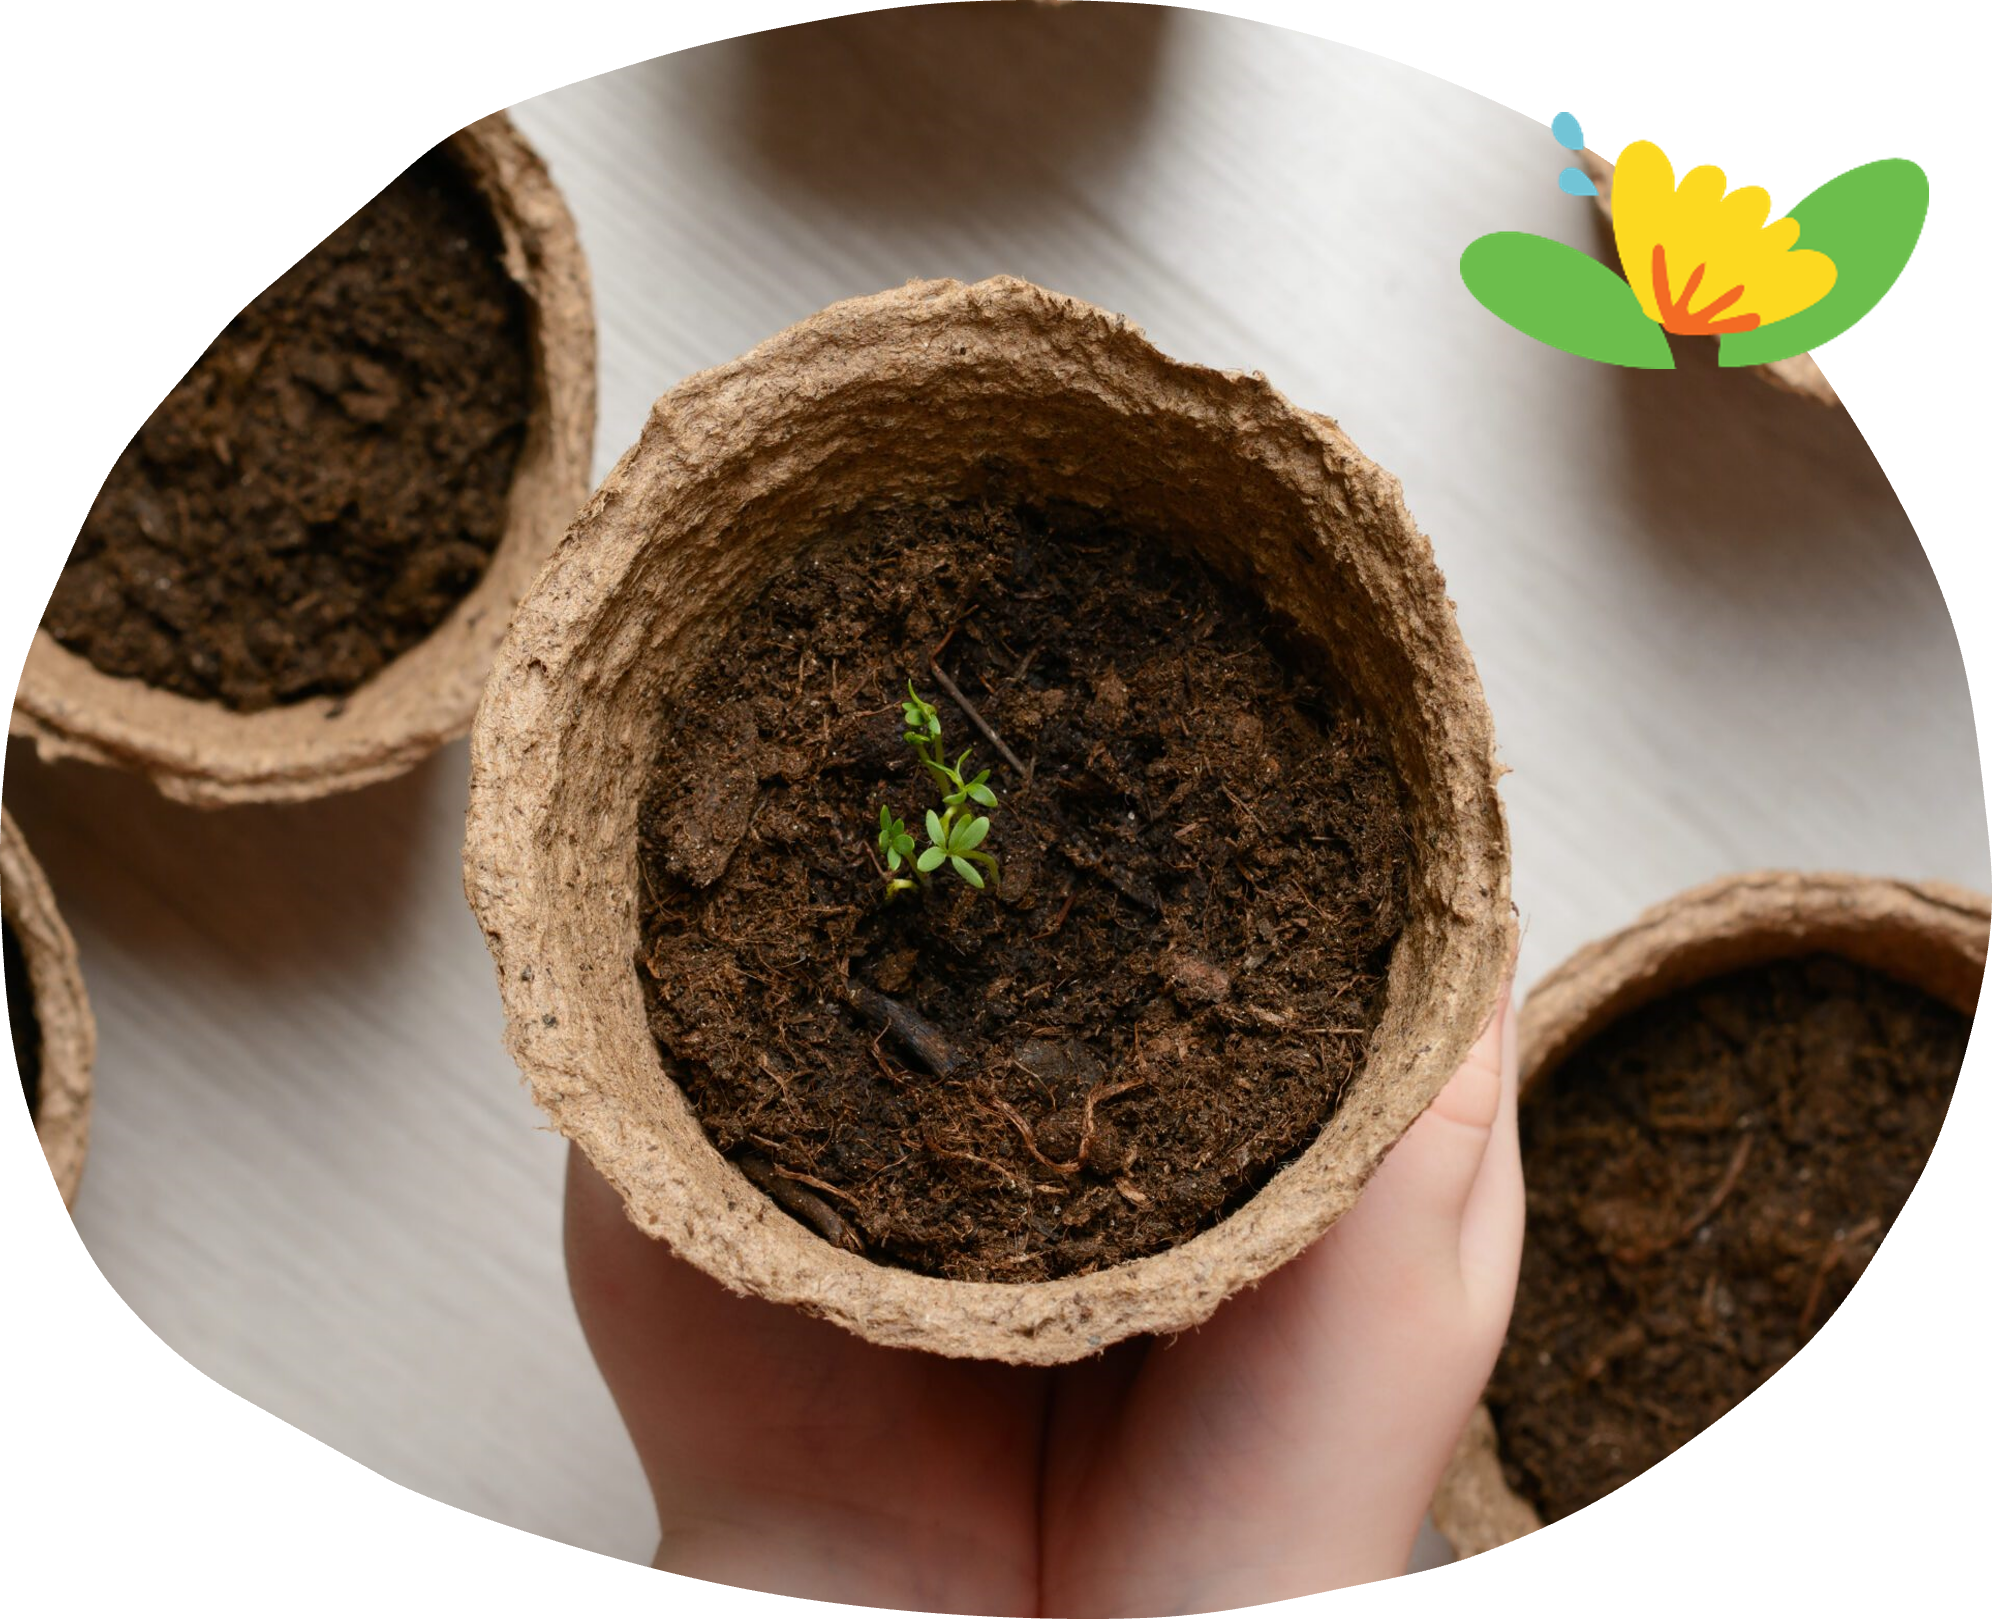
Handmade Seed Pots – make your own biodegradable seedling pots.

Potting Up
We recommend a 100% medium grade perlite which provides good drainage and water retention. Perlite is also very lightweight and makes for easy removal of cuttings once rooted. Perlite is dusty so either wear a mask or wet it down. You don’t need any compost or garden soil as the cuttings don’t require any nutrients at this stage of growth. Sterilise your mix with boiling water.
Re-cut the base at an angle just below a node (the point where the leaves join on to the stem) to form the base of the cutting. Try and keep 3-4 nodes along the length of each cutting.
Cut any extra leaves and stalks from the bottom of the cutting, as close as you can to the stem without damaging it, leaving a few leaves near the top for photosynthesis. Cut off any flowers – these use too much energy to grow and will take energy away from the root development.
Dip the cutting end into root growth hormone powder (e.g. Yates Hormone Powder) or honey. Shake off any excess powder. Poke a hole in your propagation mix using a chopstick or wooden pencil. This will help to protect the cut area that you want to grow roots.
Place the cutting into the mix and gently press the soil directly around the cutting down firmly. You can plant them very close by putting a number of cuttings from the same plant species in one container (e.g. about 1.5 to 2 cm apart, depending on the size of the species used).
Don’t forget to label your cuttings with the date and plant species.


Looking After Your Cuttings
Water the cuttings and leave them somewhere warm with filtered sunlight. Keep the soil moist but not wet. You may wish to set up a watering roster and place these instructions next to your cuttings. Take care to remove any cuttings that go black or show signs of fungus.
Cuttings take one to two months or longer to root, depending on the species. After a while you’ll notice small roots coming out the bottom of the pots – this is one way to know they’re reading to be transplanted into larger pots of their own. You can re-pot them into a bigger container, and gradually introduce them to more sunlight.

